Are you having trouble with your bread not rising as it should? It's a common issue that can stem from a variety of factors: the yeast could be past its prime, the room might be too cold, or perhaps the ingredients weren't measured properly. However, one critical step that's often overlooked is the kneading process.
Proper kneading is essential for developing the gluten in the bread, which gives the bread its structure and allows it to trap the gases produced by the yeast, leading to a well-risen loaf. Let's explore a kneading method that might just turn your bread-making woes around.
Advertisement
The Importance of Kneading in Bread Making
Kneading dough has a few critical purposes. It aligns the gluten proteins in a way that gives the dough strength and elasticity. Think of gluten as the skeleton of your bread; without a sturdy structure, your bread won’t have the framework it needs to rise. Kneading also helps to incorporate air into the dough, which yeast will use during fermentation to create gas bubbles. When done incorrectly, the bread could turn out dense and flat. So, how should you knead to ensure a perfect rise?
A Step-by-Step Guide to the Right Kneading Technique
1. Start with the right ingredients. Your flour should have a protein content of at least 12% to ensure there’s plenty of gluten to develop.
2. Measure your ingredients carefully. Baking is a science, and the right proportions are essential. Too much flour and your dough will be too stiff to rise; too little, and it won’t hold its shape.
3. Warm your ingredients. Yeast is more active in warm environments, so ingredients at room temperature can help jumpstart the rising process.
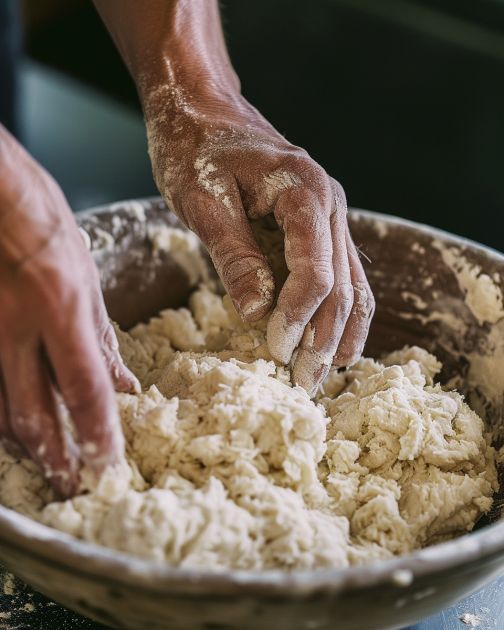
4. Begin kneading by pressing the heel of your hand into the ball of dough, pushing forward and slightly down. Fold the far edge of the dough back over onto itself and give it a quarter turn.
5. Continue this process, rhythmically and with consistent pressure. It might be tiring, but it’s one way to ensure that the dough develops enough gluten.
6. Knead for the recommended amount of time. Under-kneading will leave the gluten underdeveloped, but over-kneading can cause the dough to become tough. Most recipes call for around 10 minutes of kneading by hand.
7. Test your dough’s readiness by performing the windowpane test: stretch a small piece between your fingers. If it can stretch to create a thin layer without tearing, the dough is properly kneaded.
8. Let the dough rest. After kneading, the gluten needs time to relax. This makes the dough less tight and easier to shape.
9. Once shaped into loaves or rolls, give the dough a second proof. This is where the dough should visibly expand and rise.
Common Kneading Mistakes to Avoid
1. Adding too much flour to prevent sticking, which can make the dough too dry.
2. Kneading too vigorously or for too long, which can overwork the gluten and make your bread tough.
3. Not kneading enough — this results in insufficient gluten development, preventing your bread from rising adequately.
4. Being impatient with the dough. Kneading and rising times are guides, not rules. Sometimes, your dough will need a little longer to reach its full potential.
Advertisement
A single adjustment to your kneading method can make all the difference in bread-making. By careful measuring, patience, and effective kneading, you'll be on your way to producing loaves with a beautiful rise and perfect crumb. Always remember: baking is as much about technique as it is about ingredients, so take your time to master each step for the best results. With practice, you’ll be enjoying the fruits of your labor — warm, freshly-baked bread that’s just as good to look at as it is to eat.