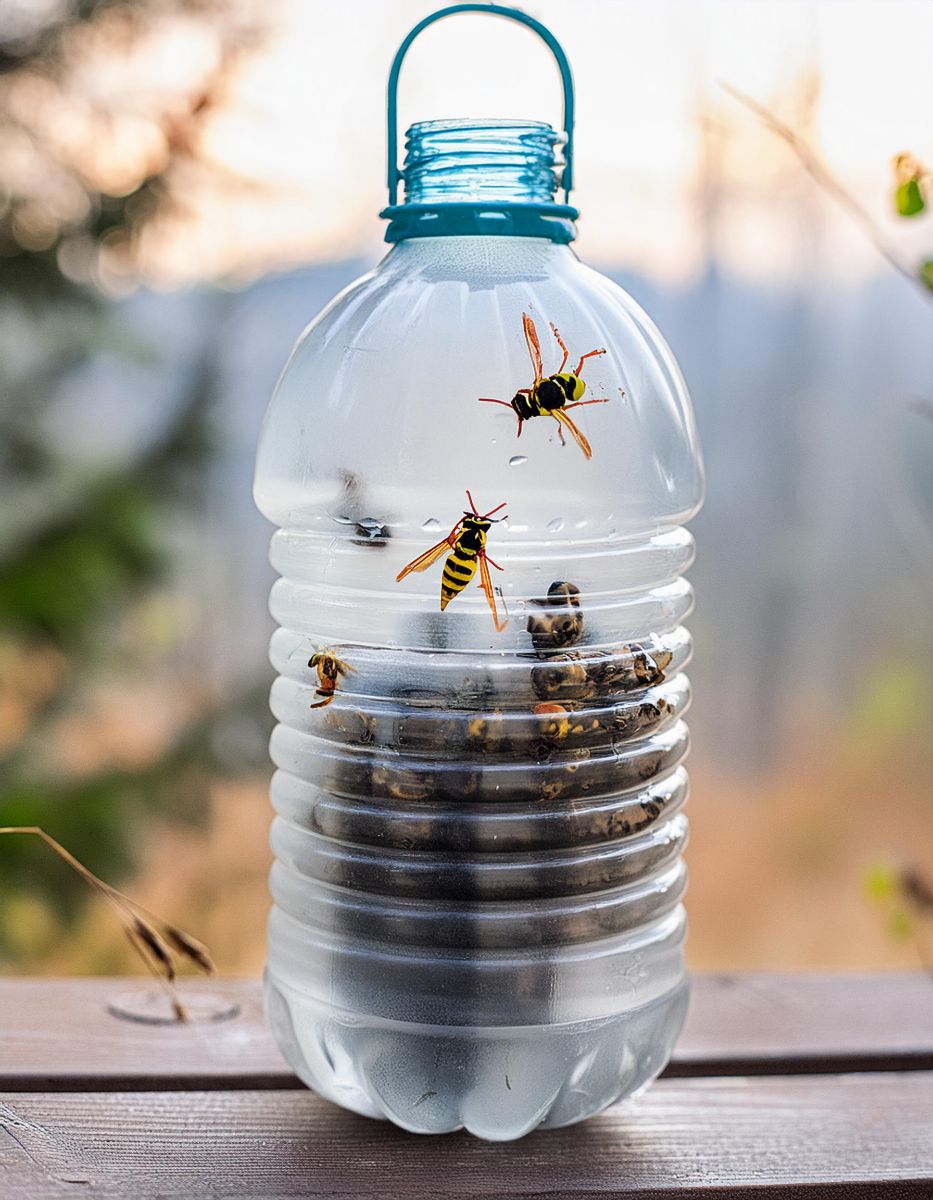
If you’re dealing with a pesky wasp problem at your home or garden, you’re certainly not alone. Wasps can be more than just a minor annoyance; they can be a real safety concern, especially for those who are allergic to their stings. Commercial traps and chemical sprays might provide some relief but come with their fair share of downsides, such as high costs and potential environmental impacts. So, what’s a homeowner to do? This is where a homemade wasp trap, passed down by generations in my family, comes into play. My grandpa swears by it, and after trying it out myself, I can confidently recommend it to others as well.
Before diving into the steps for creating this homemade wasp trap, you might be wondering why you should keep reading. The effectiveness of this trap has been demonstrated time and time again, offering a low-cost, eco-friendly solution. Whether you’re a DIY enthusiast or simply someone looking for a reliable way to deal with wasps, this method will not disappoint. Plus, the satisfaction of solving the problem with a simple homemade solution is well worth the effort.
Advertisement
Materials You'll Need:
1. An empty plastic bottle (2-liter size works best)
2. A pair of scissors
3. Some honey or sugary soda
4. A piece of wire or strong string for hanging the trap
Step-by-Step Guide to Making the Wasp Trap:
1. Prepare the Bottle
Take your empty plastic bottle and use scissors to carefully cut off the top third. You should end up with a funnel-like piece and the remaining bottom part of the bottle.
2. Add the Bait
Pour your bait (honey or sugary soda) into the bottom part of the bottle. This will attract the wasps into your trap.
3. Assemble the Trap
Take the funnel-like top piece and invert it into the bottom section so the opening is facing downwards into the bottle. This creates a funnel that allows wasps to enter but makes it difficult for them to escape.
4. Secure the Funnel
You can either tape the two parts together or use a stapler to ensure they remain attached. Make sure there are no gaps for the wasps to easily escape.
5. Hang the Trap
Use the wire or strong string to hang the trap in an area where you frequently see wasps. Make sure it is safe and out of reach of pets and children.
Advertisement
Final Thoughts:
Not only is this homemade wasp trap simple and cost-effective, but it’s also a tried-and-tested method. The materials are likely things you already have at home, and the assembly process is quick and easy. So the next time those bothersome wasps start buzzing around, you’ll be well-prepared with a solution that my grandpa—and now you—can swear by.

