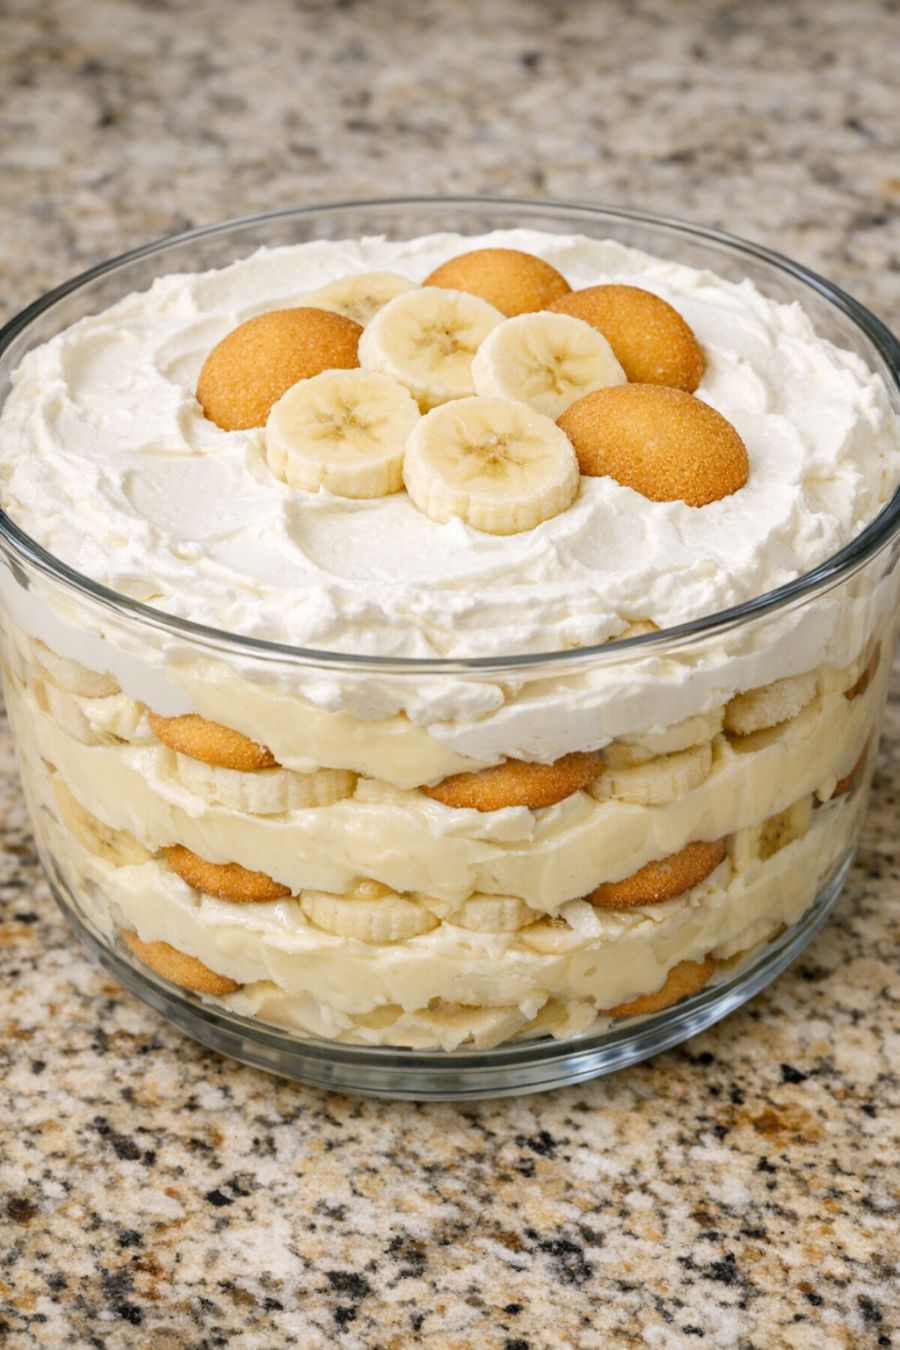
This 4-ingredient banana pudding is the exact kind of dessert my mother-in-law brings to every family gathering—and fiercely guards like it’s a state secret. It’s made with just bananas, vanilla wafers, vanilla pudding, and whipped cream, but her one simple trick makes it unbelievably smooth, with no lumps and no weird grainy texture. After finally convincing her to show me how she does it, this has become the only dessert my family requests for birthdays, holidays, and random Tuesdays when we all need something cozy and nostalgic. It comes together in a big glass bowl with pretty layers, perfect for potlucks, weeknight treats, or when you want maximum payoff with minimal effort.
Serve this banana pudding well-chilled, straight from the fridge, in small glass bowls or stemless wine glasses so you can see the layers. It pairs perfectly with a cup of coffee or decaf after dinner, or a glass of cold milk for kids. For a little contrast, add fresh berries on the side or a crunchy cookie or wafer on top right before serving so it stays crisp. It’s rich enough to stand on its own, so keep the rest of the meal simple—think grilled chicken, a big salad, or a slow-cooker dinner—then pull this out as the low-effort, high-reward finale.
4-Ingredient Banana Pudding
Servings: 8-10
Ingredients
3 cups cold milk (for instant vanilla pudding, or as package directs)
2 (3.4 oz) boxes instant vanilla pudding mix
4 cups cold whipped topping, thawed (such as Cool Whip), divided
8 medium ripe but firm bananas, sliced
1 (11–12 oz) box vanilla wafers
Directions
Prep your serving dish: Use a large clear glass serving bowl so you can see the layers (about 3–4 quarts). Make space in your fridge so the bowl can sit flat and chill undisturbed.
Make the smooth vanilla pudding base (mother-in-law trick): In a large mixing bowl, add the cold milk first, then sprinkle the instant vanilla pudding mix evenly over the top. Let it sit for 1 minute before whisking. This gives the powder time to hydrate and helps prevent lumps. Whisk steadily for 2–3 minutes until the pudding is completely smooth and just starting to thicken. If you see any tiny lumps, keep whisking until they disappear.
Fold in whipped topping gently: Once the pudding is smooth and slightly thickened, add 3 cups of the whipped topping (reserve 1 cup for the top layer). Using a spatula, gently fold the whipped topping into the pudding until the mixture is completely combined, light, and creamy. Don’t stir aggressively—you want to keep as much air in the mixture as possible so it stays fluffy and silky.
Start layering with vanilla wafers: Add a single, even layer of vanilla wafers to the bottom of the glass bowl, fitting them snugly but not crushing them. This bottom layer will soften into a cake-like texture as it chills.
Add the first layer of bananas: Slice 2–3 bananas into coins about 1/4 inch thick. Arrange them in an even layer over the wafers. Try not to stack them too high so every bite gets a balance of cookie, banana, and pudding.
Spread the first layer of pudding mixture: Spoon about 1/3 of the pudding-whipped cream mixture over the bananas. Use a spatula to gently spread it to the edges, fully covering the bananas so they’re sealed in. This helps keep them from browning and keeps the layers smooth.
Repeat the layers: Add another layer of vanilla wafers, another layer of sliced bananas, and another layer of pudding mixture. Repeat until you’ve used all the pudding mixture, ending with pudding on top. Depending on the size of your bowl, you’ll get 2–3 full sets of layers.
Finish with whipped topping: Spread the remaining 1 cup of whipped topping over the top layer of pudding, smoothing it into an even, fluffy layer. For a simple finish, crumble a few extra vanilla wafers over the top, or stand a few whole wafers upright around the edges.
Chill for the perfect texture: Cover the bowl tightly with plastic wrap, making sure it doesn’t touch the whipped topping if possible. Refrigerate for at least 4 hours, but 6–8 hours or overnight is ideal. This resting time is when the magic happens—the wafers soften into a cake-like layer and the whole dessert becomes ultra-smooth and creamy.
Serve: Right before serving, slice one more banana if you like and add a few fresh slices on top for a just-made look (optional). Scoop with a large spoon, digging down to get all the layers in each serving. Store any leftovers covered in the fridge and enjoy within 2 days for the best texture and banana flavor.
Variations & Tips
Make-ahead tip: This banana pudding is actually better when made ahead, as long as you give it at least 4 hours to chill. Overnight is ideal if you like very soft, cake-like wafers. If you prefer a bit more bite to the wafers, chill for closer to 4 hours and serve the same day. Meal-prep style, you can also assemble this in individual mason jars or small glass containers for easy grab-and-go desserts.\n\nFlavor variations: For a slightly deeper flavor, use French vanilla pudding instead of regular vanilla. You can also swap in banana cream pudding for extra banana flavor (just know it will be sweeter and more banana-forward). If you like more texture, sprinkle a few crushed vanilla wafers between layers or on top right before serving so some stay crunchy. A tiny splash of vanilla extract or a pinch of salt whisked into the pudding mixture can also help balance the sweetness.\n\nLightened-up option: Use sugar-free instant vanilla pudding and light whipped topping if you’re watching sugar or calories. You can also use reduced-fat milk, but avoid nonfat milk—it can make the pudding thinner and less creamy. If using lighter ingredients, chilling time becomes even more important so the layers set up nicely.\n\nFood safety and storage: Use cold milk and keep the whipped topping chilled until you’re ready to mix it in. Assemble the pudding quickly so it’s not sitting at room temperature for long. Because this dessert contains dairy and fresh fruit, refrigerate it promptly and keep it chilled at 40°F (4°C) or below. Don’t leave the pudding out at room temperature for more than 2 hours (or 1 hour if it’s a very hot day or you’re outdoors). Bananas will naturally brown over time, especially any exposed slices on top, so add decorative banana slices right before serving if appearance matters. Eat leftovers within 2 days for the best taste and texture, and discard if there’s any off smell, separation, or discoloration beyond normal banana browning.
