Wooden structures lend timeless charm and natural beauty to homes and outdoor spaces. However, over time, wood is susceptible to rot due to exposure to moisture, pests, and environmental factors. If left unaddressed, rot can compromise the structural integrity of the wood, leading to costly repairs or replacements.
When should you repair wood rot?
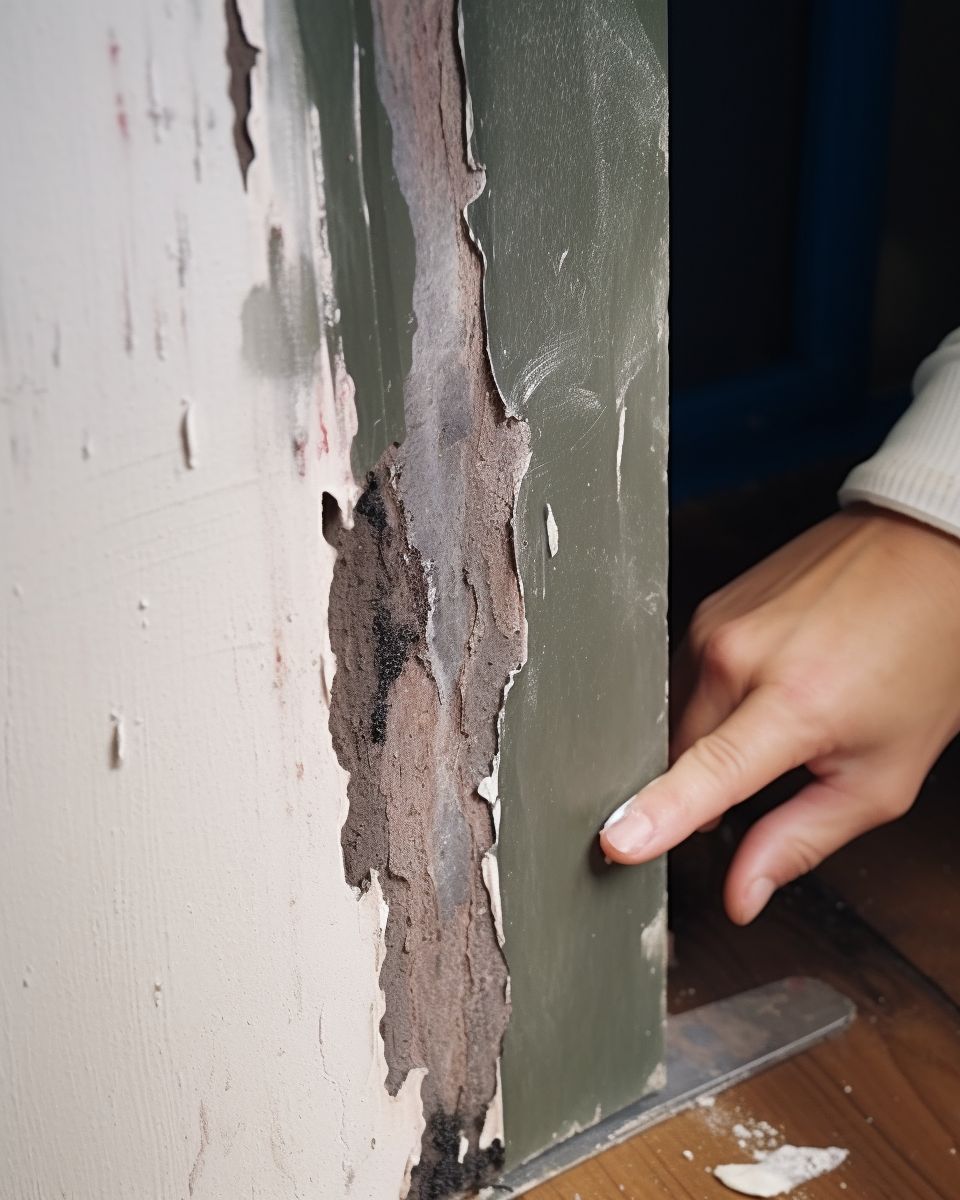
Repair wood rot as soon as you notice visual evidence of decay, spongy or soft wood, or experience water damage or leaks in your home. Inspect window sills, door frames, and outdoor wooden structures regularly, as they are particularly susceptible. Timely action prevents further damage, maintains structural integrity, and extends the lifespan of the wood.
Advertisement
Proactive maintenance and addressing minor issues promptly are crucial to avoiding costly repairs and ensuring a safe and appealing living environment. During real estate transactions, thorough inspections for wood rot can prevent future complications for both buyers and sellers.
How to repair wood root
In this comprehensive guide, we will take you through a step-by-step process on how to effectively repair rotted wood, whether it's a minor section or extensive damage. With the right materials and tools at your disposal, you can restore the strength and aesthetics of your wooden elements, ensuring they stand the test of time and retain their inviting appeal.
Materials and Tools:
Safety gear (gloves, safety goggles, dust mask)
Screwdriver or drill
Wood filler or epoxy resin
Chisel
Wood hardener (optional but recommended)
Sandpaper (coarse and fine grit)
Putty knife
Primer and paint or wood stain (if applicable)
Replacement wood (if extensive damage requires a section to be replaced)
Paintbrushes or foam rollers
Carpenter's glue
Clamps (if replacing a section of wood)
Plastic sheeting or tarp to protect the work area
Step-by-Step Guide:
Safety Precautions:
Put on safety gear to protect yourself from dust, debris, and potential hazards.
Assessment:
Examine the extent of the rot in the wood. Determine if you need to repair small sections or if a complete replacement is necessary.
Remove Rotted Wood:
Use a screwdriver or drill to remove any loose or rotted wood from the affected area. Be gentle to avoid causing more damage.
Treat with Wood Hardener (Optional):
For partially rotted wood that you intend to keep, apply a wood hardener according to the product's instructions. The hardener will stabilize the remaining wood fibers.
Fill the Rotted Areas:
Apply a wood filler or epoxy resin into the remaining voids left by the removed rotted wood. Follow the manufacturer's instructions for the specific product you are using. Use a putty knife to smooth the surface.
Allow Drying and Curing:
Give the filler or epoxy enough time to dry and cure fully. Follow the recommended waiting period provided by the product's manufacturer.
Shape and Smooth:
Use a chisel and sandpaper to shape the repaired areas to match the surrounding wood's contours. Sand the surface until it's smooth and even.
Prime (if needed):
If you plan to paint the repaired wood, apply a coat of primer to the treated areas and let it dry according to the product's instructions.
Paint or Stain:
If the repaired wood is part of a painted surface, apply paint that matches the existing color. For stained surfaces, use a wood stain that matches the rest of the wood. Follow the manufacturer's instructions for the paint or stain application.
Replace Entire Sections (if necessary):
In cases where the rot is extensive, you may need to replace the entire section of wood. Use a saw to cut out the damaged portion, and then use it as a template to cut a replacement piece from the new wood.
Glue and Clamp Replacement Piece:
Apply carpenter's glue to the edges of the replacement piece and the adjoining wood. Fit the replacement piece into place and use clamps to hold it firmly while the glue dries.
Sand and Finish:
Sand the repaired area, including the newly replaced section, until it's smooth and blends seamlessly with the rest of the wood. Finish the surface with paint or stain to match the surrounding wood.
Final Inspection:
Inspect the repaired wood thoroughly to ensure that it is sturdy, level, and aesthetically pleasing.
Advertisement
By following these steps and using the right materials and tools, you can successfully repair rotted wood and extend the life of your wooden structures. Remember to take your time, work carefully, and prioritize safety throughout the repair process.