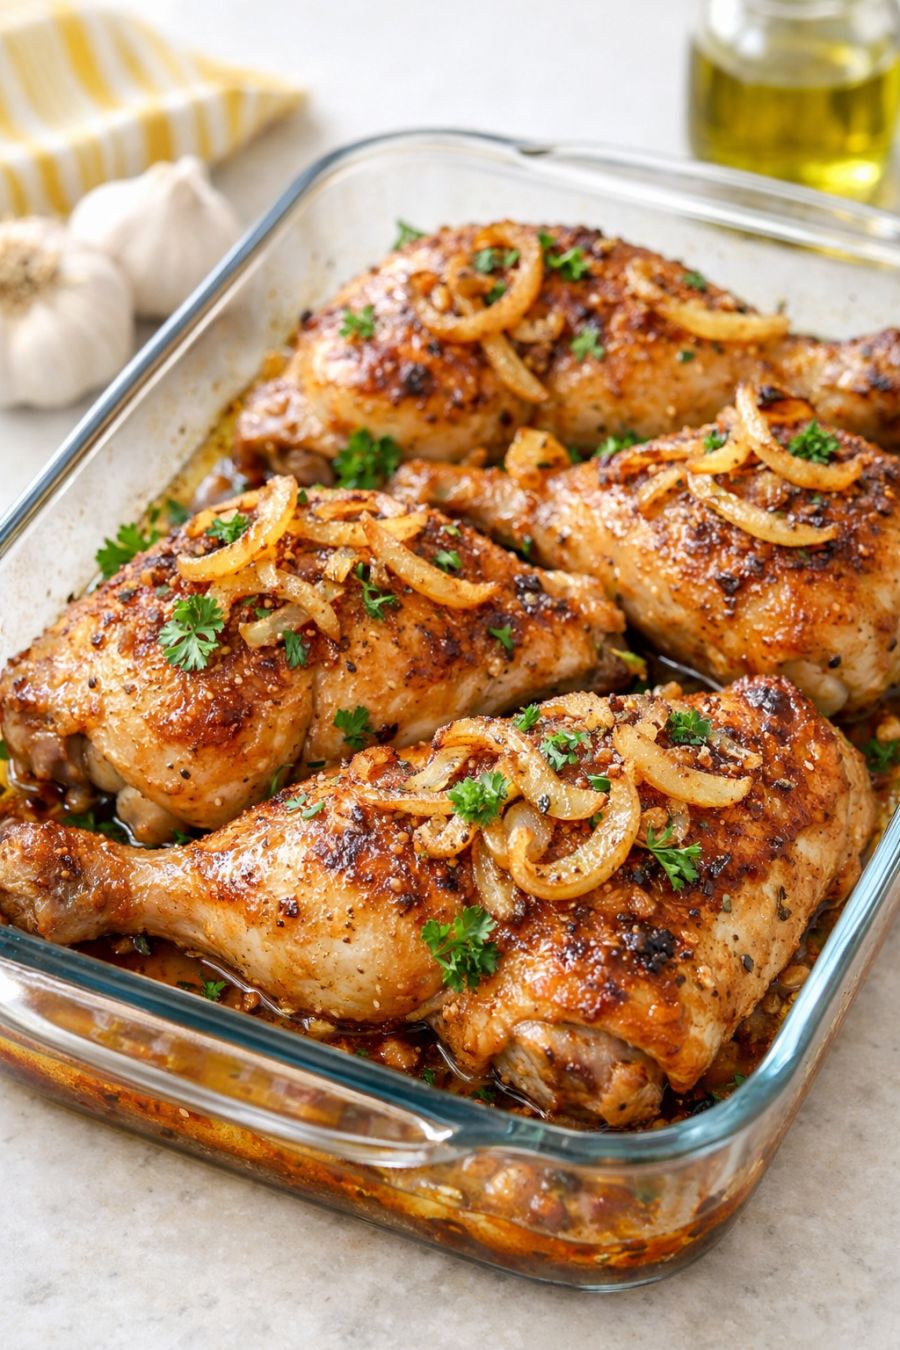
This 5-ingredient depression era oven chicken using raw chicken quarters is the kind of meal our grandparents would have stretched through a week, but it still feels special enough for Sunday dinner. It leans on just four everyday pantry items—nothing fancy, nothing expensive—to turn plain chicken into something so tender and flavorful your family will be asking for seconds. Everything happens right in a simple glass baking dish, so cleanup is easy and the whole house fills with that cozy, oven-roasted smell that makes everyone wander into the kitchen asking when dinner is ready.
Serve these juicy baked chicken quarters with simple sides that soak up the flavorful juices from the pan. Mashed or roasted potatoes, buttered egg noodles, or plain white rice all work wonderfully. Add a basic green vegetable like steamed green beans, peas, or a tossed salad to round out the plate. If you have a little extra bread or dinner rolls, set them out for dipping into the savory drippings at the bottom of the glass dish—kids especially love that part.
5-Ingredient Depression Era Oven ChickenServings: 4
Ingredients
4 raw chicken leg quarters (about 2 1/2–3 pounds total)
2 tablespoons vegetable oil (or any neutral cooking oil)
1 1/2 teaspoons salt
1 teaspoon black pepper
1 teaspoon garlic powder
Directions
Preheat your oven to 375°F (190°C). Place a clean 9x13-inch glass baking dish on the counter so it’s ready for the chicken.
Pat the raw chicken leg quarters dry with paper towels. This helps the skin crisp up a bit and keeps the seasoning from sliding off.
Drizzle the vegetable oil over the bottom of the glass baking dish, then add the chicken quarters in a single layer, skin side up. If they’re crowded, tuck them in snugly but avoid stacking them.
Sprinkle the salt evenly over the tops of the chicken quarters, then follow with the black pepper and garlic powder. Use your fingers or the back of a spoon to gently rub the seasonings over the skin so each piece is well coated. The dish should just show the seasoned chicken—no extra ingredients needed.
Place the glass baking dish on the middle rack of the preheated oven. Bake for 45 minutes without covering, letting the chicken start to brown and release its juices into the dish.
After 45 minutes, carefully spoon some of the hot pan juices from the bottom of the dish over the tops of the chicken quarters to keep them moist and flavorful. Return the dish to the oven.
Continue baking for another 20–30 minutes, or until the chicken skin is nicely browned and the thickest part of the meat (not touching bone) reaches 165°F (74°C). If you don’t have a thermometer, pierce the thickest part of a thigh; the juices should run clear, not pink.
Once done, remove the glass dish from the oven and let the chicken rest for about 5–10 minutes. This helps the juices settle so every bite is tender. Serve the chicken straight from the glass dish, spooning some of the savory juices over each piece on the plate.
Variations & Tips
If your family likes a little more flavor but you still want to keep things simple, you can swap or add seasonings without changing the basic idea of using just four everyday pantry items plus chicken. Try using seasoned salt instead of regular salt for a slightly more complex taste, or replace the garlic powder with onion powder if that’s what you have on hand. For kids who prefer milder flavors, cut the black pepper in half and rely more on the salt and garlic powder. If you want a hint of smokiness, use a light sprinkle of paprika in place of some of the black pepper, keeping the total number of ingredient types the same. To stretch the meal, add a few peeled potatoes or carrot chunks around the chicken in the glass dish—just remember that adds extra ingredients, so keep the seasonings the same and treat the vegetables as a bonus if you’re not strictly counting. Leftover chicken can be shredded and used in sandwiches, quesadillas, or tossed with cooked noodles and a little of the reserved pan juices for an easy second meal. For crispier skin, move the dish to the top rack for the last 5 minutes of baking and turn on the broiler, watching closely so it doesn’t burn.