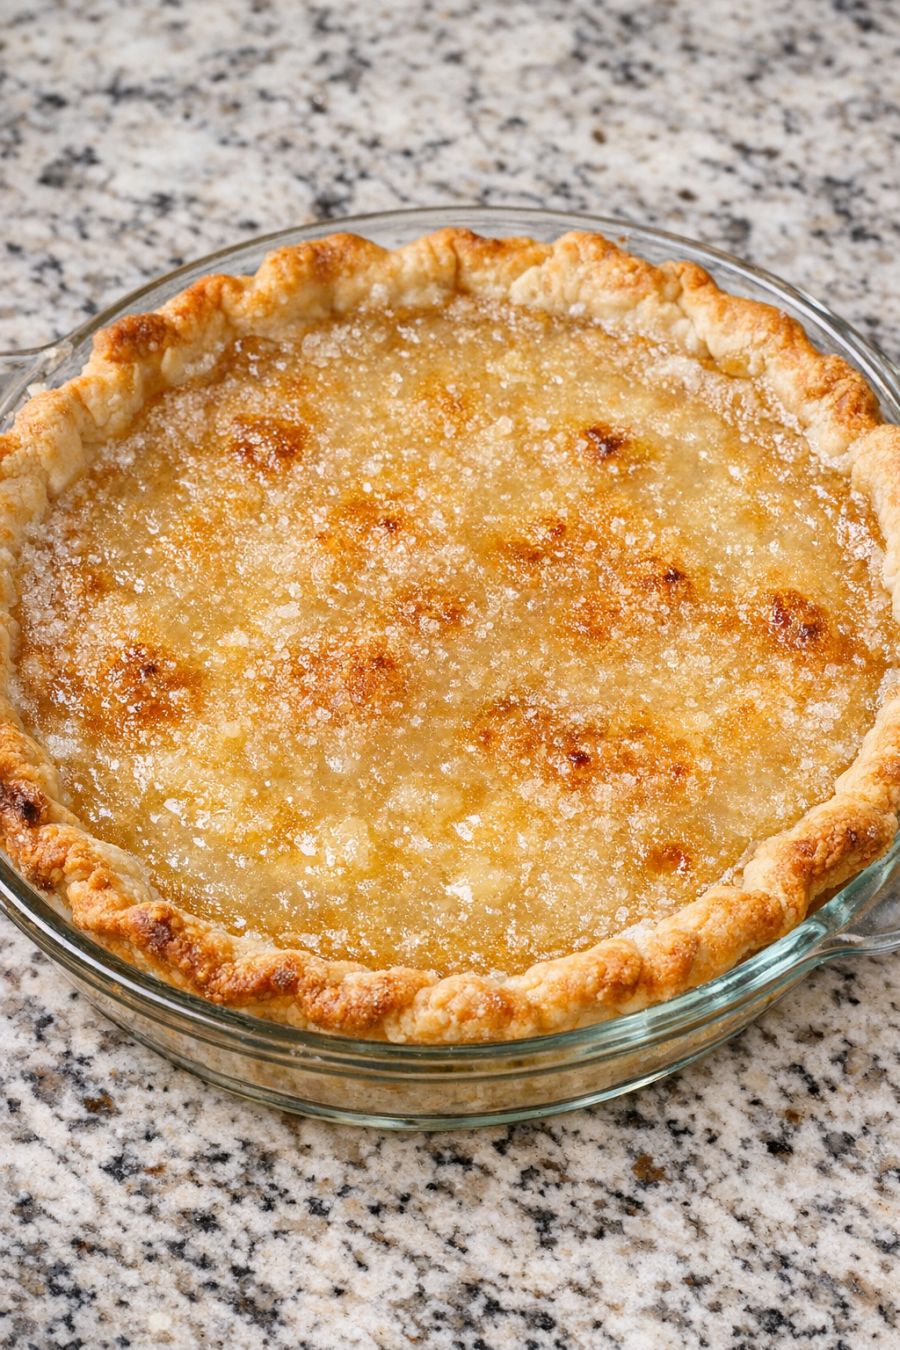
This 4-ingredient depression era water pie is the kind of plain, honest dessert that carried families through lean Midwestern springs. Nana Betty used to say this pie was her little secret for turning almost nothing into something the whole neighborhood begged for. With just a ready pie crust, sugar, butter, and a spoonful of flour whisked into water, it bakes up in a clear glass pie plate with a golden, slightly crisp top and a soft, custard-like center. It’s the sort of recipe you make when the pantry is bare but you still want to put something sweet and comforting on the table, a simple reminder that resourcefulness and love can taste every bit as good as luxury.
Serve this water pie slightly warm or at room temperature so the soft center can settle and slice cleanly. It’s lovely on its own, but a dollop of whipped cream or a scoop of vanilla ice cream turns it into Sunday company fare. A cup of hot coffee or black tea is the way Nana Betty would have served it on a cool spring evening, while kids often reached for a cold glass of milk. Because the flavor is gentle and buttery, it pairs nicely after a simple supper like roast chicken, meatloaf, or a pot of beans and cornbread.
4-Ingredient Depression Era Water PieServings: 8
Ingredients
1 (9-inch) unbaked pie crust, fitted in a clear glass pie plate
1 1/2 cups granulated sugar
1/4 cup all-purpose flour
2 cups hot tap water
5 tablespoons unsalted butter, cut into thin slices
Directions
Preheat your oven to 400°F (200°C). Place the oven rack in the lower third so the bottom crust has a better chance to brown. Set a clear glass 9-inch pie plate with the unbaked pie crust on a sturdy baking sheet to catch any drips and make it easier to move.
In a medium bowl, whisk together the granulated sugar and all-purpose flour until there are no streaks of flour. This helps the flour disperse evenly so the filling thickens without lumps.
Slowly pour in the 2 cups of hot tap water while whisking gently. The water should be quite warm but not boiling. Whisk until the sugar and flour are mostly dissolved and the mixture looks milky and smooth.
Give the pie crust a quick check to be sure it’s evenly pressed into the plate and the edges are crimped or simply folded over. If there are any thin spots in the crust, pinch a little extra dough over them so the liquid filling doesn’t leak through.
Carefully pour the sugar-water mixture directly into the unbaked pie crust. The crust will look alarmingly full and very watery at this stage—that’s exactly how Nana Betty made it. The flour will settle a bit toward the bottom as it bakes and help it set.
Lay the thin slices of butter gently over the surface of the liquid, spacing them fairly evenly. As the pie bakes, the butter will melt, rise, and help form that golden, slightly crisp top that folks remember.
Slide the baking sheet with the pie into the oven. Bake at 400°F (200°C) for 25 minutes to give the crust a good head start and help the top begin to brown.
Without removing the pie from the oven for long, reduce the heat to 350°F (175°C). Continue baking for another 25–35 minutes, or until the top is golden, the edges are slightly crisp, and the center looks mostly set but still has a gentle wobble when you nudge the pan. The filling will firm up more as it cools.
If the crust edges or top start to brown too quickly before the center is mostly set, loosely lay a piece of foil over the pie to prevent over-browning while it finishes baking.
Remove the pie from the oven and set it on a cooling rack or a folded kitchen towel on your counter. Let it cool at least 2–3 hours before slicing. This resting time is important; cutting too soon can make the filling run. Once cooled and lightly set, slice into wedges and serve from the clear glass pie plate right on the speckled kitchen counter, just like Nana Betty did every spring.
Variations & Tips
This recipe is meant to be plain and humble, but a few small touches can make it your own while still honoring Nana Betty’s 4-ingredient secret. For a slightly richer texture, you can reduce the water to 1 3/4 cups, which will make the filling a bit firmer. If your kitchen runs cool and the filling seems slow to set, leave the pie in the oven a few extra minutes at 350°F, watching closely so the top doesn’t get too dark. A pinch of salt in the sugar and flour mixture deepens the flavor and balances the sweetness without changing the spirit of the recipe. For a hint of spice, you can very lightly dust the top with ground cinnamon or nutmeg before baking, though Nana usually saved spices for holidays. If you prefer a sturdier crust, blind-bake the pie crust for 8–10 minutes at 400°F, then let it cool slightly before adding the filling, watching carefully so the bottom doesn’t over-brown. Food safety tips: Use clean, fresh water and handle the hot pie with oven mitts and a stable baking sheet to avoid burns or spills, since the filling is very liquid when it goes into the oven. Let the pie cool to room temperature before covering and storing; refrigerate leftovers within 2 hours of cooling and enjoy within 3–4 days. Reheat slices gently in a low oven if you like them warm. Always use a clear glass or other oven-safe pie plate, and never place a hot glass dish directly on a cold or wet surface to avoid cracking.