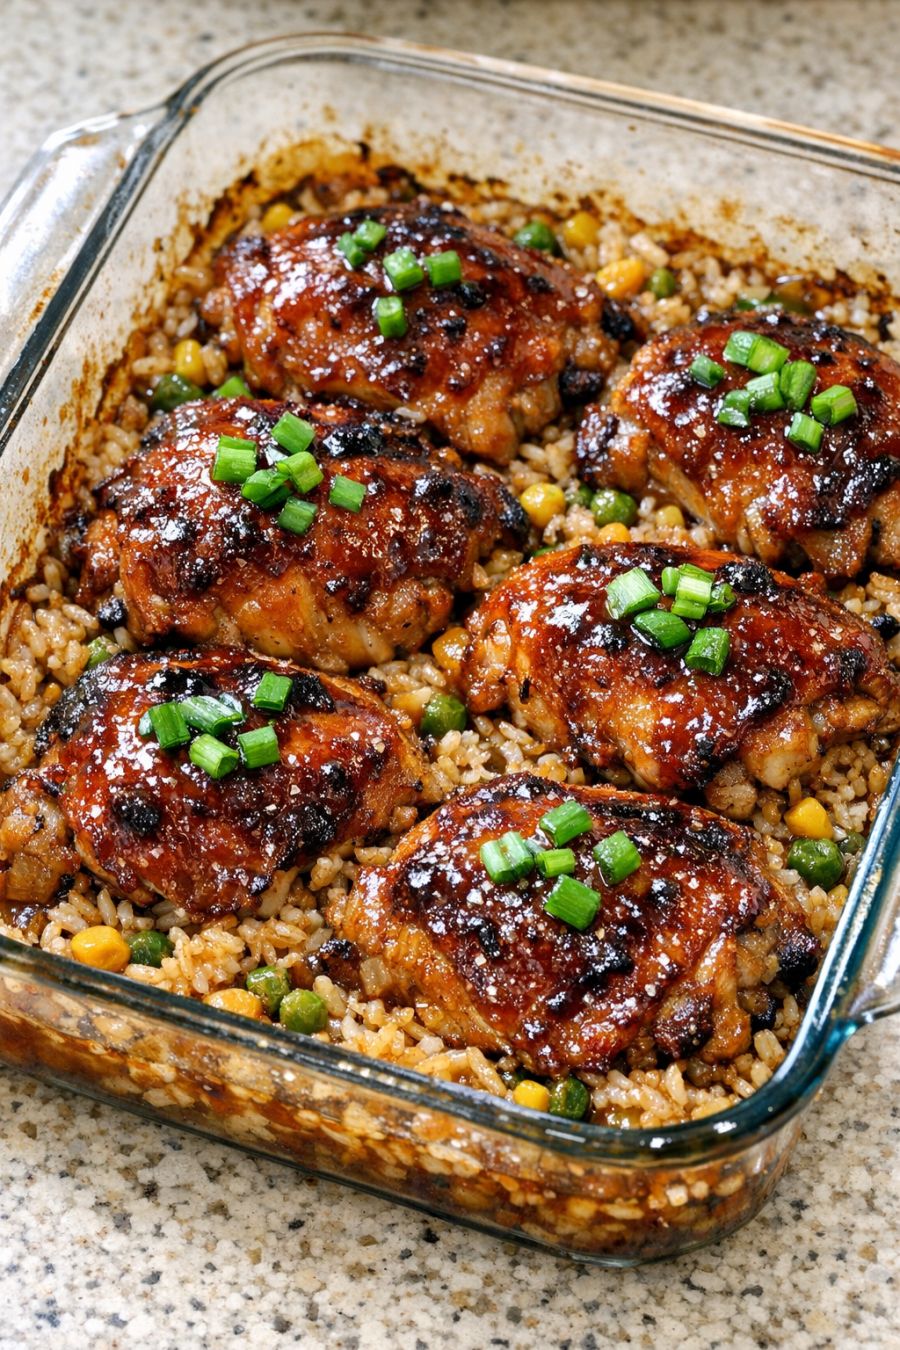
This 4-ingredient oven 1970s freezer chicken supper is exactly the kind of no-fuss, from-the-freezer meal many of us grew up with in the Midwest. You start with rock-solid frozen bone-in chicken thighs, toss them right in the baking dish with four pantry staples, and let the oven do the work. The result is nostalgic, saucy, and deeply savory—very much in the spirit of those vintage weeknight casseroles that relied on pantry shortcuts and a long, gentle bake. It’s the kind of dish you slide into the oven and then forget about until everyone is suddenly hovering in the kitchen, waiting for seconds.
Serve these saucy chicken thighs over hot white rice, buttered egg noodles, or mashed potatoes so all the sweet-savory pan juices have something to soak into. A simple green vegetable—like steamed green beans, a crisp green salad with a tangy vinaigrette, or roasted broccoli—helps balance the richness. If you want to lean into the retro feel, add a side of canned corn or peas, and finish with a simple fruit salad or gelatin dessert for a full 1970s-style supper.
4-Ingredient Oven Freezer Chicken SupperServings: 4
Ingredients
8 bone-in, skin-on chicken thighs, frozen solid (about 3 to 3 1/2 pounds)
1 cup ketchup
1/2 cup packed light brown sugar
1/4 cup soy sauce (regular, not low-sodium)
1 teaspoon garlic powder
Nonstick cooking spray or 1 teaspoon neutral oil, for greasing the baking dish (optional)
Directions
Preheat the oven to 375°F (190°C). Lightly grease a 9x13-inch ceramic or glass baking dish with nonstick cooking spray or a little neutral oil to help with cleanup.
Arrange the frozen chicken thighs in a single layer in the baking dish, skin side up. It’s fine if there’s a little frost or condensation on the surface; just avoid large ice chunks if possible.
In a medium bowl, whisk together the ketchup, brown sugar, soy sauce, and garlic powder until smooth and glossy. This creates a thick, sweet-savory sauce that will thin out as the chicken releases juices.
Pour the sauce evenly over the frozen chicken thighs, using a spatula or spoon to spread it so each piece is well coated. There’s no need to thaw or pre-season the chicken; everything happens right in the baking dish.
Cover the baking dish tightly with aluminum foil. This traps steam and helps the frozen chicken thaw gently while infusing it with the sauce, much like the covered casseroles popular in the 1970s.
Bake the covered chicken for 45 minutes. During this time, the chicken will thaw, begin to cook through, and release juices that mix with the sauce.
After 45 minutes, carefully remove the foil (watch for hot steam). Baste the chicken pieces with the pan sauce by spooning it over the tops. This helps build flavor and color on the skin.
Return the baking dish to the oven, uncovered, and continue baking for another 35 to 45 minutes, basting once or twice more during this time. The sauce will thicken and caramelize around the edges as the chicken finishes cooking.
Begin checking for doneness after a total cook time of about 1 hour 20 minutes. Use an instant-read thermometer inserted into the thickest part of a thigh without touching the bone; the internal temperature should reach at least 165°F (74°C). If the skin isn’t as browned as you like once the chicken is fully cooked, you can switch the oven to broil for 2 to 3 minutes, watching very closely so the sugars in the sauce don’t burn.
Remove the baking dish from the oven and let the chicken rest for 5 to 10 minutes. The sauce will thicken slightly as it cools. Serve the chicken thighs hot, spooning plenty of the sticky pan sauce over each piece and passing any extra at the table.
Variations & Tips
You can play with this basic 4-ingredient pantry formula while keeping the spirit of the recipe intact. For a tangier, more barbecue-like flavor, add 1 tablespoon of apple cider vinegar to the sauce (this technically adds a fifth ingredient, but it stays true to the 1970s pantry profile). For a smoky note, stir 1 teaspoon smoked paprika or a few drops of liquid smoke into the ketchup mixture. If you prefer a little heat, add 1/4 teaspoon crushed red pepper flakes or a few dashes of hot sauce. To lean sweeter and more kid-friendly, increase the brown sugar to 2/3 cup and reduce the soy sauce slightly. You can also substitute chicken drumsticks for the thighs; keep them frozen and follow the same method, checking for doneness since smaller pieces may cook a bit faster.
Food safety tips: Always start with properly frozen, commercially packaged or safely stored chicken. Keep the chicken frozen until it goes into the baking dish; do not leave it at room temperature to thaw on the counter. Because you’re starting from frozen, the total cook time is longer—use an instant-read thermometer to confirm that the thickest part of each piece reaches at least 165°F (74°C). If some pieces are done earlier than others, transfer the fully cooked ones to a clean plate, cover lightly with foil, and return the rest to the oven until they reach temperature. Never reuse the foil or any utensils that have touched raw or partially cooked chicken unless they’ve been thoroughly washed with hot, soapy water. Leftovers should be cooled quickly, stored in shallow containers, and refrigerated within 2 hours; reheat to 165°F before serving.