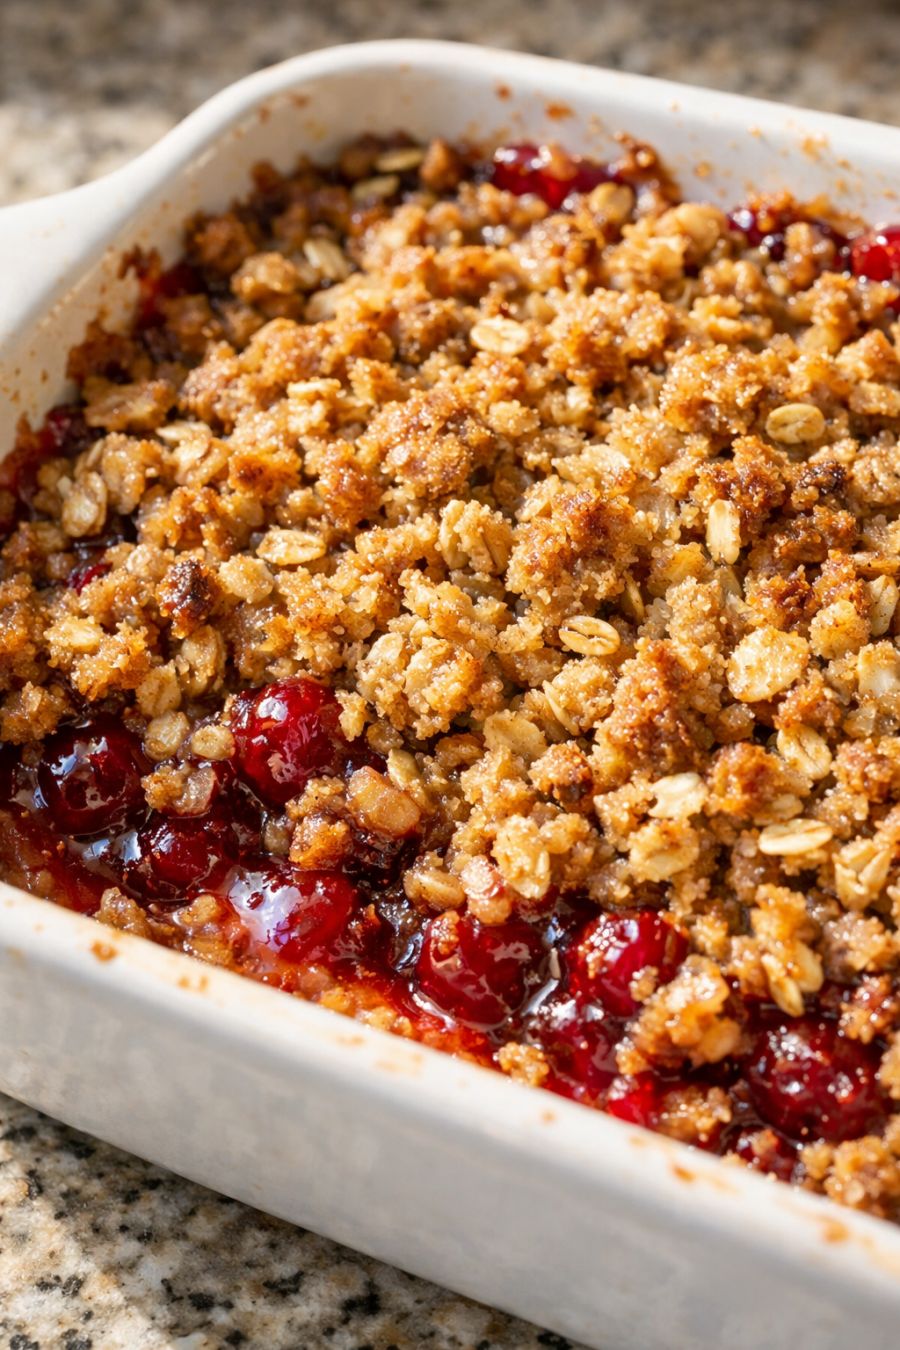
This cherry oat crumble is the kind of simple comfort I grew up with on Midwestern farm tables: a few pantry staples, a well-buttered baking dish, and the sweet promise of something warm coming out of the oven. It starts with a layer of plain, uncooked oats, then you pile on canned cherry pie filling and a buttery, brown-sugary topping that bakes into a homey Amish-style dessert. With just five ingredients and no fussy steps, it’s the sort of recipe you can pull together on a busy weeknight or after Sunday dinner, and it has that old-fashioned charm that keeps everyone coming back for seconds.
Serve this cherry oat crumble warm from the oven, when the cherries are bubbling around the edges and the oat topping is golden and crisp. A scoop of vanilla ice cream or a spoonful of lightly sweetened whipped cream melts into the nooks and crannies in the nicest way. For a simple country supper, I like to pair it with a pot roast or meatloaf dinner, then bring the baking dish straight to the table and let folks help themselves. Leftovers make a cozy breakfast alongside a cup of coffee or hot tea, especially with a dollop of plain yogurt to balance the sweetness.
5-Ingredient Amish Cherry Oat CrumbleServings: 6-8
Ingredients
2 cups old-fashioned rolled oats, uncooked
2 cans (21 ounces each) cherry pie filling
1/2 cup (1 stick) unsalted butter, melted
1/2 cup packed brown sugar
1/2 cup all-purpose flour
Directions
Preheat your oven to 350°F (175°C). Lightly grease a 9x13-inch baking dish with a bit of butter or nonstick spray so the oats and cherries don’t stick.
Pour the uncooked rolled oats evenly into the bottom of the prepared baking dish. Use your hands to gently spread them into a flat, even layer that completely covers the bottom. This dry oat layer will soak up the cherry juices as it bakes.
Open the cans of cherry pie filling. Spoon the cherry pie filling over the layer of uncooked oats, spreading it gently with the back of the spoon so it covers the oats from corner to corner. You want the oats hidden under a good, even blanket of cherries.
In a medium bowl, stir together the melted butter, brown sugar, and flour until everything is well combined and forms a thick, sandy mixture that clumps when pressed. This is your simple crumble topping.
Using your fingers, sprinkle the butter-sugar-flour mixture evenly over the cherry pie filling, breaking it into small clumps as you go. Aim for a fairly even layer so every bite gets some of that buttery crumble.
Place the baking dish on the center rack of the preheated oven. Bake for 30–40 minutes, or until the cherry filling is bubbling around the edges and the oat and crumble topping is golden brown and crisp.
Remove the dish from the oven and let the cherry oat crumble rest for at least 10–15 minutes. This short rest helps the juices thicken and soak into the oats beneath. Serve warm, scooped straight from the baking dish.
Variations & Tips
For a nuttier version, stir 1/2 cup of chopped pecans or walnuts into the crumble mixture before sprinkling it over the cherries. If you prefer less sweetness, choose a tart cherry pie filling or use 1/3 cup brown sugar instead of 1/2 cup. You can also add 1 teaspoon of ground cinnamon or a pinch of nutmeg to the crumble mixture for a warm, spiced flavor that feels especially cozy in fall and winter. If you only have quick oats, they will work in a pinch, but the texture will be a bit softer than with old-fashioned rolled oats. To make this dessert dairy-free, use a plant-based butter that is suitable for baking. For a smaller household, halve the recipe and bake it in an 8x8-inch dish, checking doneness a little earlier. Store leftovers covered in the refrigerator for up to 3 days; reheat individual portions in the microwave until just warmed through, or cover the whole dish with foil and warm in a 300°F oven. Because this recipe uses canned cherry pie filling, there are no special safety concerns beyond normal kitchen hygiene: wash your hands before cooking, avoid tasting from utensils that have touched your mouth, and refrigerate any leftovers promptly within 2 hours of baking to keep the fruit filling safe and fresh.