This 3-ingredient oven curly fry meal is one of those busy-night lifesavers that still feels fun and a little special. You start with a bag of frozen curly fries, spread them out on a baking sheet, and add just two more simple ingredients to turn them into cheesy ranch-loaded fries that taste like something you’d order at a diner. It’s not fancy, but it’s the kind of comfort food my Midwestern family asks for again and again, especially on game nights or when we want an easy dinner everyone can agree on.
Serve these cheesy ranch curly fries hot right off the baking sheet with a simple green salad or raw veggie sticks (carrots, celery, cucumbers) to balance things out. They pair really well with grilled or baked chicken, burgers, or sloppy joes if you want to make it a bigger meal. Set out extra ranch dressing or ketchup for dipping, and let everyone eat family-style right from the pan for a fun, casual dinner.
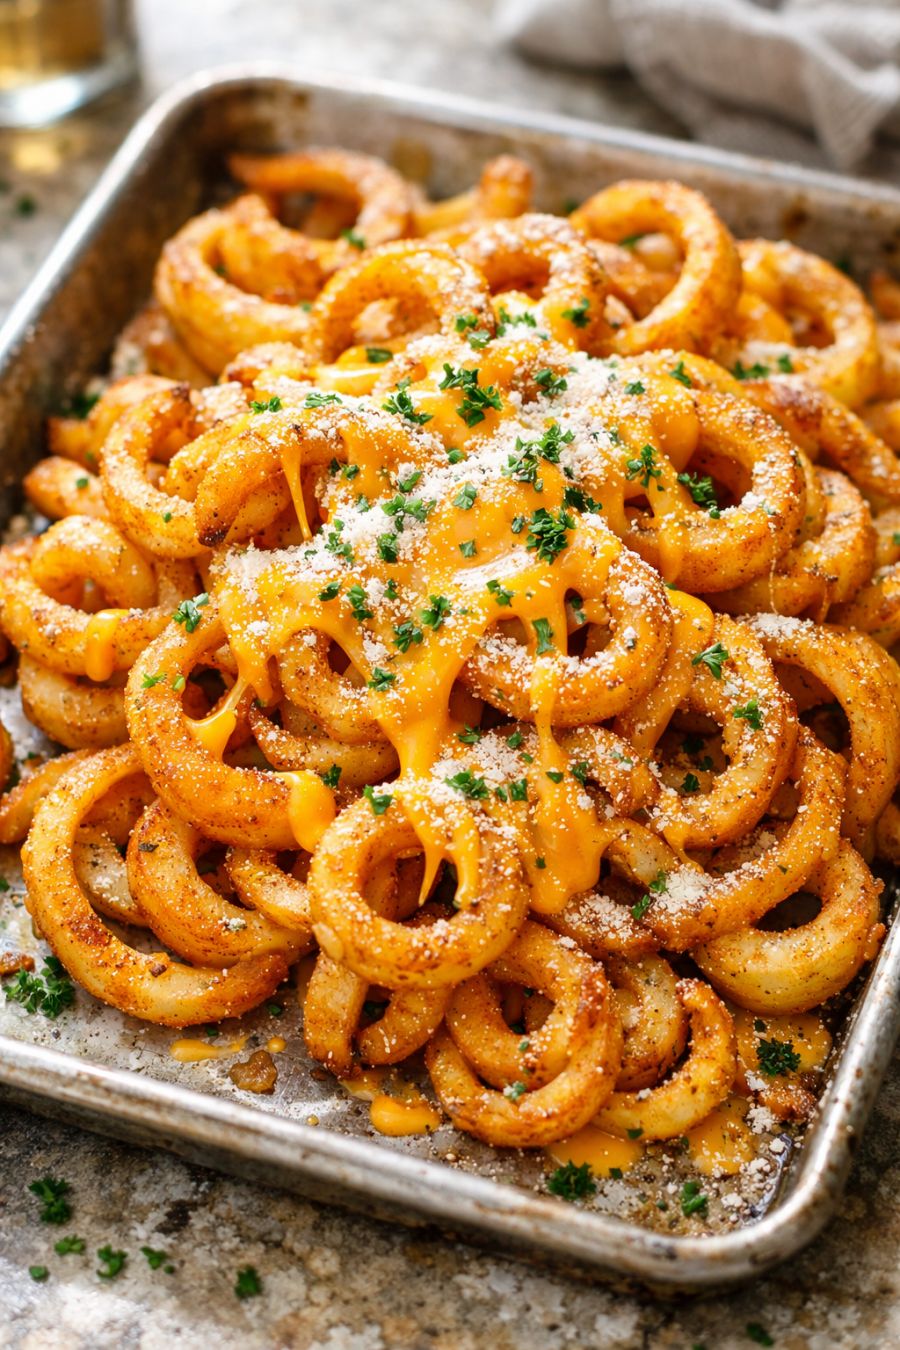
3-Ingredient Cheesy Ranch Oven Curly FriesServings: 4
Ingredients
1 (22–28 oz) bag frozen curly fries
1 cup shredded cheddar cheese (or cheddar-jack blend)
2 tablespoons dry ranch seasoning mix
Directions
Preheat your oven to 425°F (220°C). Line a dark non-stick baking sheet with parchment paper if you’d like easier cleanup, or lightly spray the pan with cooking spray.
Dump the frozen curly fries straight from the bag onto the center of the dark non-stick baking sheet. Use your hands or a spatula to spread them into an even single layer so they crisp up nicely.
Sprinkle the dry ranch seasoning mix evenly over the frozen curly fries, tossing lightly with clean hands or tongs right on the baking sheet to coat as many fries as you can. Spread the fries back into a single layer.
Place the baking sheet on the middle rack and bake for 18–22 minutes, flipping the fries halfway through, until they are golden brown and crispy on the edges. Ovens vary, so keep an eye on them during the last few minutes.
Once the fries are crisp, carefully pull the baking sheet out of the oven and immediately sprinkle the shredded cheddar cheese evenly over the hot fries.
Return the baking sheet to the oven for 2–4 more minutes, just until the cheese is melted and bubbly but not burnt.
Remove from the oven and let the fries sit for 2–3 minutes to cool slightly and allow the cheese to set a bit. Use a spatula to transfer the cheesy ranch curly fries to plates or serve straight from the baking sheet at the table. Enjoy while hot and melty.
Variations & Tips
For picky eaters, you can season only half of the pan with ranch and leave the other half plain, then add cheese over the whole tray or just part of it. If someone doesn’t like ranch, swap the ranch seasoning for 2 tablespoons of your favorite all-purpose seasoning salt or taco seasoning. For a little kick, add a pinch of cayenne or red pepper flakes when you sprinkle on the ranch mix. You can change up the cheese, too—try pepper jack for a spicier version, or mozzarella for extra stretch. To make it feel more like a full meal, add cooked and crumbled bacon, diced cooked chicken, or leftover taco meat on top of the fries right before you add the cheese, then return to the oven to warm everything through. For a lighter touch, serve smaller portions of the fries alongside a big salad or a bowl of vegetable soup. Food safety tips: Always bake the fries according to package directions or hotter, and make sure they reach a safe, steaming-hot temperature before serving. Keep the baking sheet handle and edges in mind—use oven mitts and keep kids back from the hot pan. If you add any cooked meats, be sure they were previously cooked to a safe internal temperature (165°F for poultry, 160°F for ground beef) and stored properly in the refrigerator. Refrigerate leftovers within 2 hours in a shallow container and reheat in the oven or air fryer until hot and crisp again.