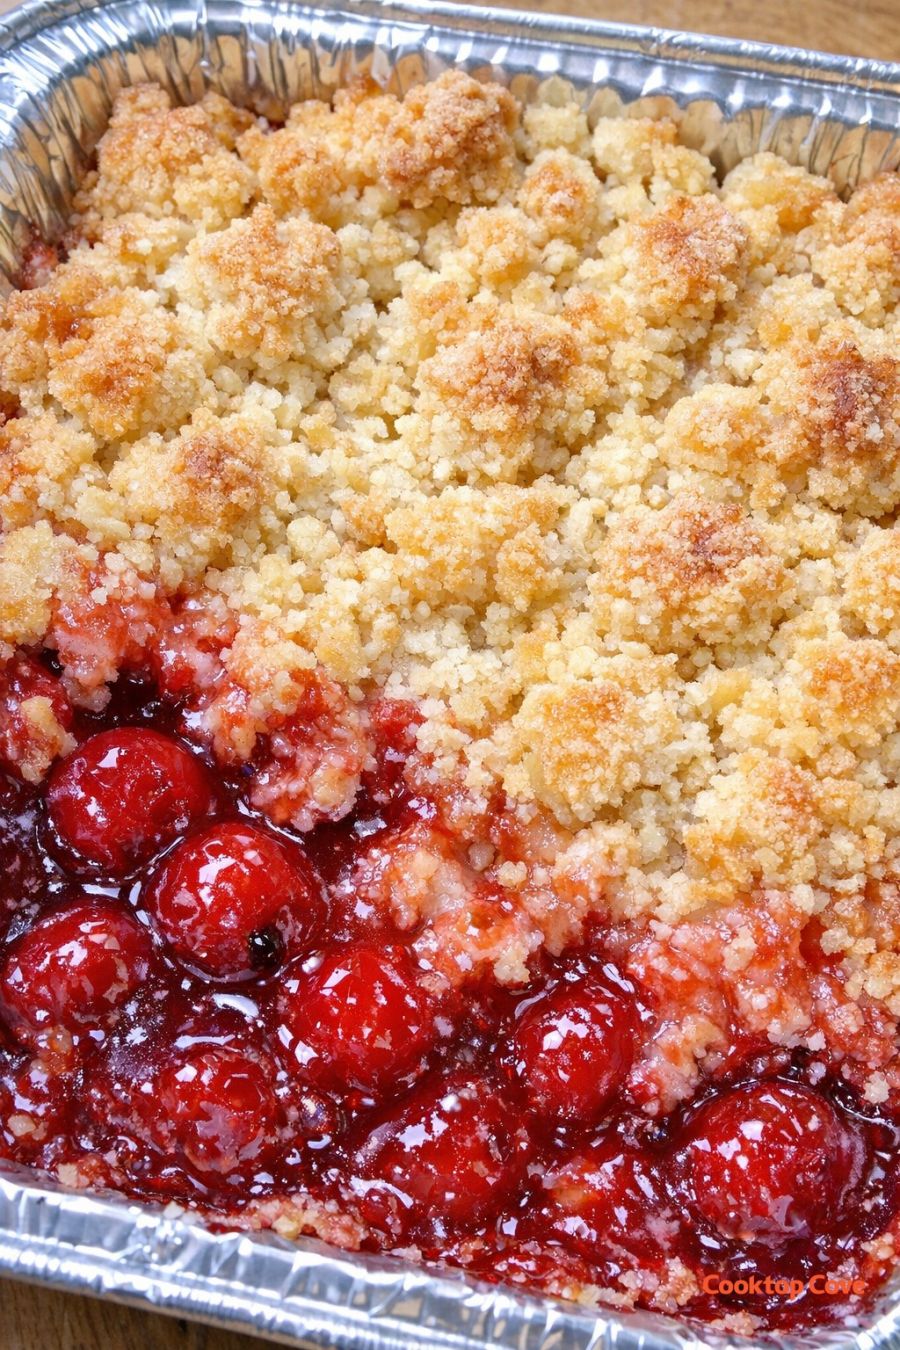
This 3-ingredient cherry dump cake is the kind of no-fuss dessert my mom used to whip up for our neighborhood block parties. She’d slide a big aluminum pan of this into the oven just as people were setting out lawn chairs, and by the time everyone went to fix a plate, the pan was already scraped clean from all the “taste tests.” It’s perfect for busy nights or last-minute gatherings because you literally dump, spread, and bake. No mixer, no fancy tools—just a bubbling, glossy cherry filling under a golden, buttery cake topping that tastes way more impressive than the effort it takes.
Serve this cherry dump cake warm, straight from the aluminum pan, with big scoops of vanilla ice cream or a dollop of whipped cream so it melts into all the nooks and crannies. It’s also great with a cup of coffee after dinner or as a casual dessert for game night. If you’re feeding a crowd, set the pan on a trivet in the middle of the table with a stack of bowls and spoons so people can help themselves. For a little extra flair, sprinkle the top with powdered sugar right before serving, or pair with salty snacks like pretzels or popcorn for that sweet-salty balance at a party.
3-Ingredient Cherry Dump CakeServings: 10-12
Ingredients
2 cans (21 ounces each) cherry pie filling
1 box (about 15.25 ounces) yellow cake mix (dry mix only)
3/4 cup (1 1/2 sticks) unsalted butter, melted
Directions
Preheat your oven to 350°F (175°C). Place a disposable aluminum 9x13-inch baking pan on a sturdy baking sheet for easier handling.
Pour both cans of cherry pie filling into the aluminum pan. Use a spoon or spatula to spread the filling into an even layer, making sure it reaches all the corners.
Sprinkle the dry yellow cake mix evenly over the cherry pie filling. Try to cover all of the cherry filling with a light, even blanket of cake mix—do not stir.
Slowly drizzle the melted butter evenly over the dry cake mix, focusing on any dry spots. The top should look mostly moistened, but a few dry patches are okay; they’ll still crisp up in the oven.
Place the pan (still on the baking sheet) into the preheated oven. Bake for 40–50 minutes, or until the top is golden brown, the edges are bubbling, and you can see glossy cherry filling peeking through in spots.
Remove from the oven and let the dump cake rest for at least 10–15 minutes. This helps the filling thicken slightly and makes it easier to scoop.
Serve warm straight from the pan, scooping down so you get both the bubbling cherry layer and the crumbly golden topping in every serving.
Variations & Tips
You can easily tweak this 3-ingredient base to fit your schedule and your crowd. For a slightly less sweet version, use one can of cherry pie filling and one can of tart cherries in juice (drained well), but be aware this technically adds an extra ingredient. Swap the yellow cake mix for white, French vanilla, or even lemon cake mix for a different flavor twist. If you like extra texture, sprinkle 1/2 to 1 cup of chopped pecans or walnuts over the dry cake mix before adding the butter. For a richer topping, use salted butter instead of unsalted for a sweet-salty contrast. To prep ahead, you can assemble the pan (cherry filling, cake mix, and melted butter) up to 2 hours before baking; keep it loosely covered in the fridge and bake just before guests arrive so it’s warm and bubbly when they walk in. Leftovers should be cooled completely, then covered and stored in the refrigerator for up to 3 days; reheat individual portions in the microwave until warmed through. For food safety, avoid leaving the baked dump cake out at room temperature for more than 2 hours, especially if serving with dairy toppings like ice cream or whipped cream. Always check that canned ingredients are not dented, bulging, or past their expiration date before using, and handle the hot aluminum pan carefully when removing it from the oven, as it can be flimsy—using a baking sheet underneath helps prevent spills and burns.