
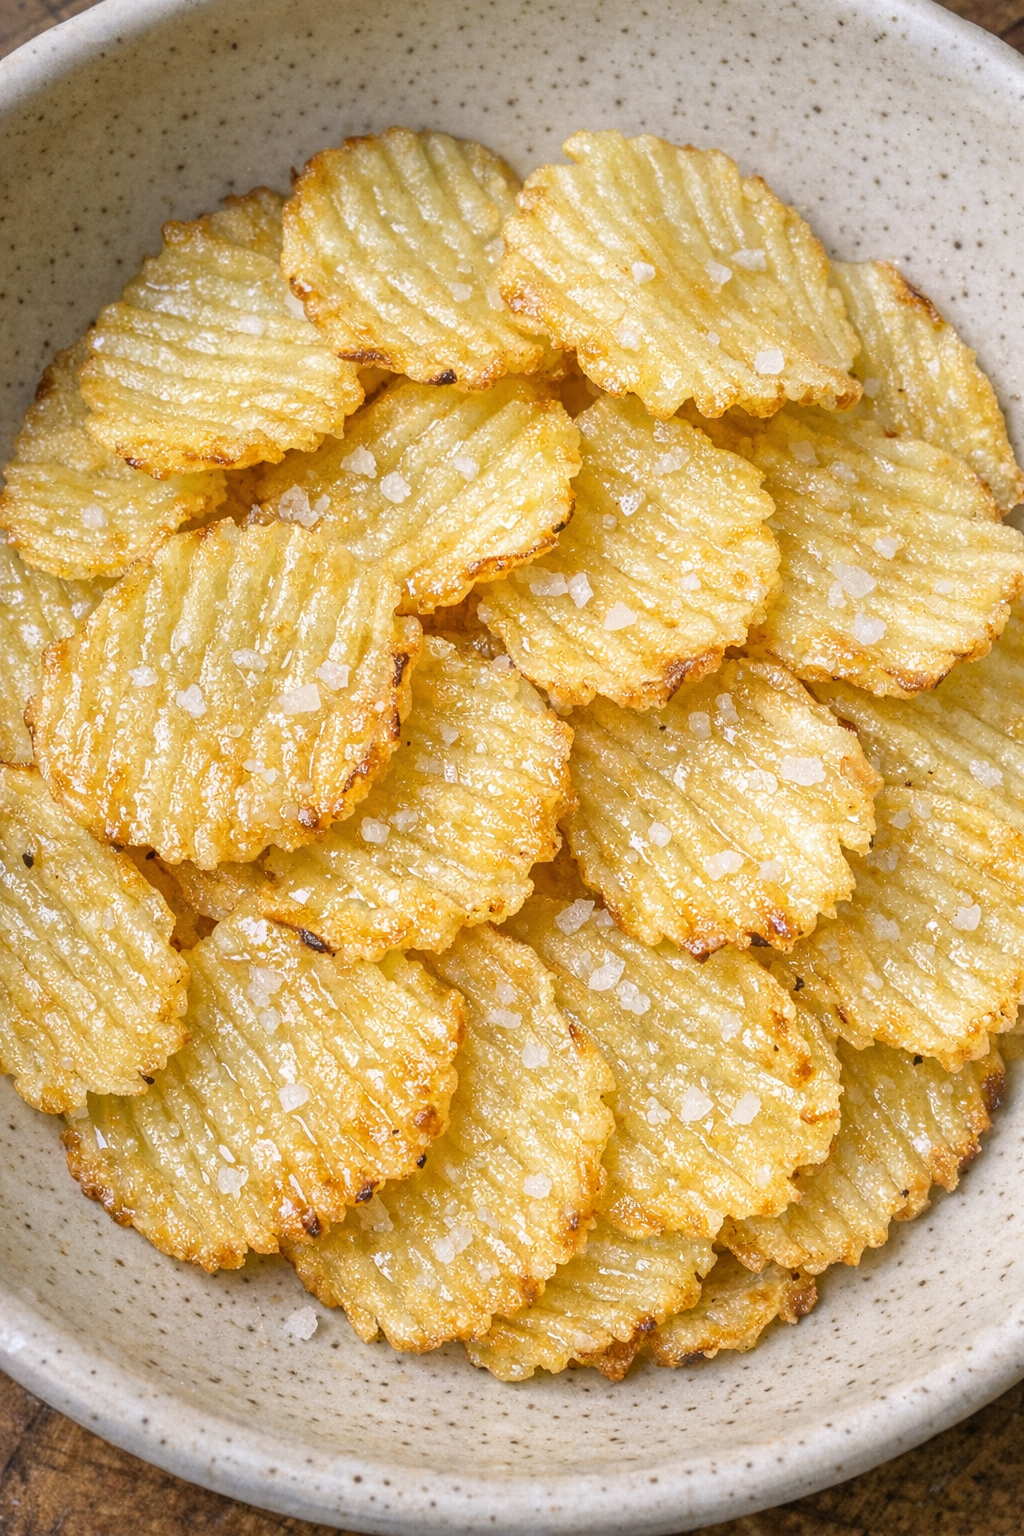
These oven baked 3-ingredient buttery potato ruffle chips are the kind of simple snack that never goes out of style. They feel a little nostalgic, a little homemade in the best way, and they are perfect when you want something salty, crisp, and special without fussing over a long ingredient list. Baking them in the oven gives you that lovely golden edge and crisp texture, while the butter adds rich flavor that makes them taste right at home on a summer snack table or alongside a casual family meal.
Serve these chips with burgers, hot dogs, grilled chicken, or deli sandwiches for an easy warm-weather spread. They are also wonderful with a simple dip like sour cream and onion, ranch, or French onion dip, and I like setting out a bowl next to fresh veggie sticks and pickle spears when friends or family stop by.
Oven Baked 3-Ingredients Buttery Potato Ruffle Chips
Servings: 4
Ingredients
2 large russet potatoes, scrubbed clean
3 tablespoons melted butter
1 teaspoon coarse salt
Directions
1. Preheat your oven to 400°F and line 2 large baking sheets with parchment paper. Set a wire rack inside the pans if you have one for extra crisping, but the chips can also bake directly on the parchment.
2. Slice the potatoes very thin on a crinkle cutter or mandoline fitted with a wavy blade so you get even ruffled slices. Try to keep them about 1/16 inch thick so they bake up crisp.
3. Pat the potato slices very dry with clean kitchen towels or paper towels. This helps them crisp instead of steam, so do not skip this step.
4. Place the slices in a large bowl, drizzle with the melted butter, and toss gently until all the potatoes are lightly coated. Sprinkle with the coarse salt and toss once more.
5. Arrange the slices in a single layer on the prepared baking sheets, making sure they do not overlap. Bake for 12 to 18 minutes, rotating the pans halfway through, until the chips are golden brown and crisp around the edges. Remove any chips that finish early so they do not overbrown.
6. Let the chips cool for 5 minutes on the pan so they finish crisping, then transfer them to a shallow bowl or platter and serve warm or at room temperature.
Variations & Tips
For extra crisp chips: If your potato slices seem moist after cutting, let them sit on towels for a few extra minutes before adding the butter. Thin, dry slices are the biggest secret to getting a nice crisp bite in the oven.
For picky eaters: Keep the first batch plain with just butter and salt, then divide the next batch and add a tiny sprinkle of garlic powder, onion powder, or paprika after baking if your family likes a little extra flavor.
No crinkle cutter option: If you do not have a ruffle blade, a regular mandoline or very sharp knife will still work. The chips will not have the same wavy look, but they will still bake up beautifully with that buttery, salty flavor.
Best potato choice: Russet potatoes are my favorite here because they bake up crisp and light. Yukon Gold potatoes can be used too, but they may turn out a little richer and slightly less crisp.
Make-ahead tip: These are best the day they are made, but you can keep cooled chips in an airtight container for a day or two. If they soften, pop them back in a 350°F oven for a few minutes to bring back some of that crunch.