These 3-ingredient Oreo balls are the treat my sister insists I bring to every single family gathering, from birthday parties to Sunday dinners. They’re wonderfully simple: crushed Oreos, a bit of cream cheese to hold everything together, and a chocolate shell on the outside. No oven, no fancy equipment—just a little mixing, rolling, and dipping. They’re perfect for busy weeknights, potlucks at church, or when the kids want to help make dessert. This is one of those Midwestern-style, make-and-take recipes that has quietly made the rounds at school events and holiday cookie trays for years, and for good reason: they disappear fast.
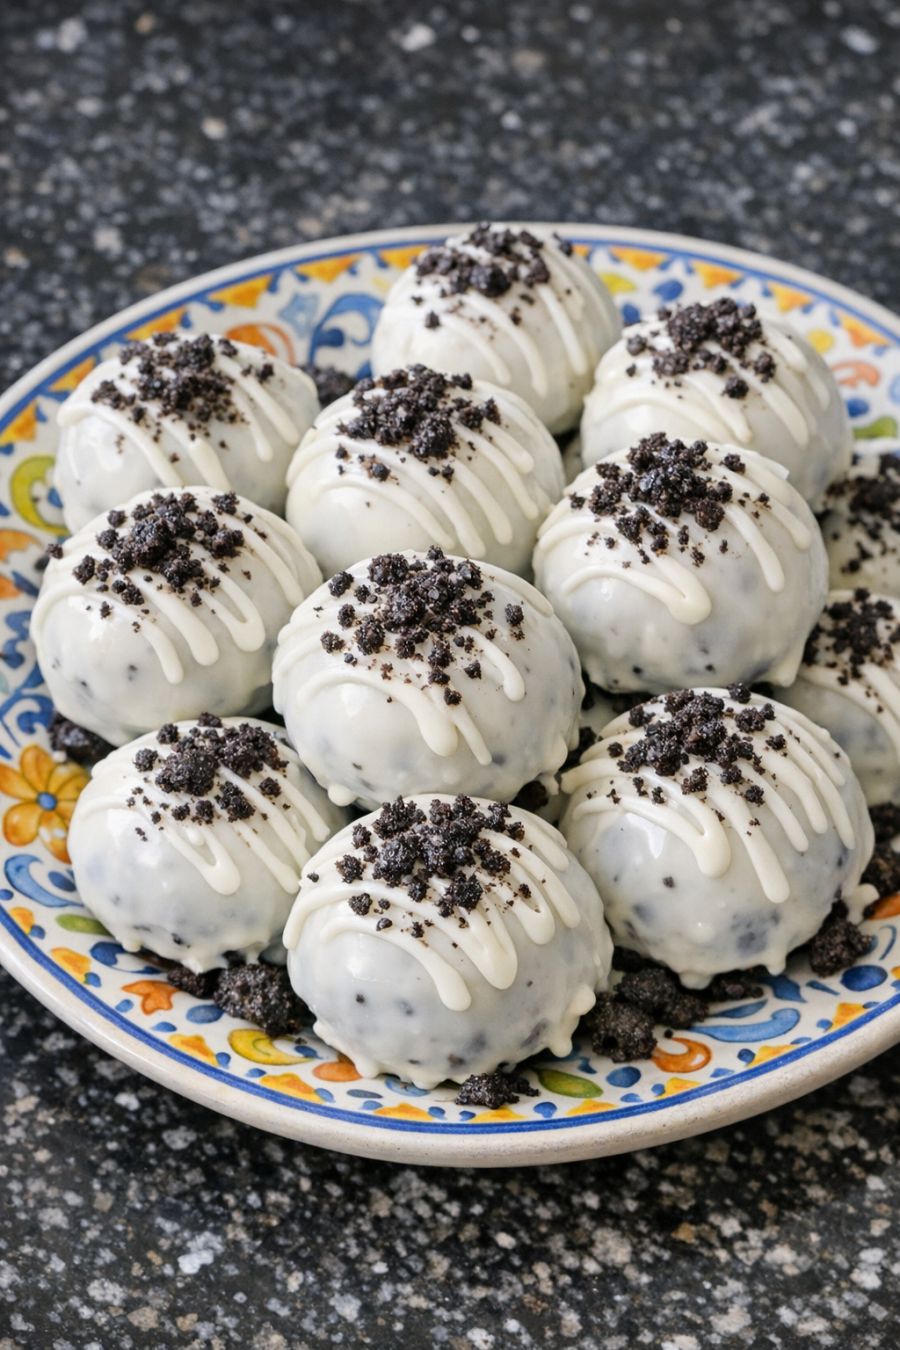
Serve these Oreo balls chilled on a pretty patterned ceramic plate set out on your kitchen counter or buffet. They pair nicely with hot coffee, cocoa, or a cold glass of milk for the kids. I like to tuck them onto holiday cookie platters, pack a few into small tins for neighbors, or bring a plate to game nights. Because they’re rich, a small serving goes a long way, so arrange them in a single layer with a little space between each one so they look special and easy to grab.
3-Ingredient Oreo Balls
Servings: 24
Ingredients
36 regular Oreo cookies (about 1 standard 14–15 oz package)
8 oz cream cheese, softened to room temperature
12 oz semisweet or milk chocolate baking chips (or melting wafers)
Directions
Line a baking sheet with parchment paper or wax paper and set it aside. Make sure you have a little space cleared on your counter; these come together quickly once you start rolling.
Place the Oreo cookies (cream filling and all) into a food processor and pulse until they are very fine crumbs. If you don’t have a food processor, put the cookies into a large zip-top bag and crush them with a rolling pin until you have fine crumbs with no big chunks.
Transfer the Oreo crumbs to a mixing bowl. Add the softened cream cheese. Using a sturdy spoon or clean hands, mix until the cream cheese is completely worked into the crumbs and you have a thick, uniform dough with no streaks of cream cheese.
Scoop about 1 tablespoon of the mixture at a time and roll it between your palms to form smooth, bite-sized balls. Place each ball onto the prepared baking sheet, spacing them slightly apart so they don’t stick together.
Once all the Oreo balls are rolled, place the baking sheet in the refrigerator for at least 30 minutes, or in the freezer for about 15 minutes, until the balls are firm. This helps them hold their shape when you dip them in chocolate.
Near the end of the chilling time, place the chocolate chips (or melting wafers) in a microwave-safe bowl. Microwave in 20–30 second bursts, stirring after each burst, until the chocolate is completely melted and smooth. Be careful not to overheat; stop heating as soon as most of the chips are melted and let the residual heat finish the job as you stir.
Working with a few Oreo balls at a time, drop one ball into the melted chocolate. Use a fork to gently roll it around until it’s fully coated, then lift it out, letting the excess chocolate drip back into the bowl. Gently slide the coated ball back onto the lined baking sheet. Repeat with the remaining balls, reheating the chocolate in short bursts if it starts to thicken.
Once all the Oreo balls are coated, return the baking sheet to the refrigerator and chill for at least 30 minutes, or until the chocolate is set and firm to the touch.
When the chocolate has hardened, transfer the Oreo balls to a patterned ceramic plate for serving. Keep them stored in an airtight container in the refrigerator until ready to serve. They’re best served chilled and will keep well for up to 5 days.
Variations & Tips
For picky eaters or different tastes, you can easily tweak these while still keeping them simple at heart. Use different Oreo flavors, like Golden or Mint Oreos, for a twist on the classic—kids often love the Golden version because it tastes like birthday cake. If your crew prefers milder chocolate, use milk chocolate chips; for a deeper flavor, go with dark chocolate. For a little extra flair without adding to the ingredient list, you can reserve a tablespoon of Oreo crumbs before mixing and sprinkle them on top of the freshly dipped balls while the chocolate is still wet. If you need to make them ahead for a busy weekend, roll the balls and freeze them (uncoated) on a tray, then dip them in chocolate the day you plan to serve. To keep little helpers engaged, let kids roll the dough into balls while you handle the warm chocolate, or let them “decorate” by gently pressing each ball into reserved crumbs on the plate after the chocolate has set. If you live in a warm house or it’s summer, store them in the coldest part of your fridge so they stay firm and don’t get sticky on the plate.
