This oven baked 4-ingredients crispy sheet pan mac and cheese is straight out of my college apartment days, just slightly more grown-up and baked on a big sheet pan for maximum crunchy edges. My roommate swore by this trick: skip the fancy sauces, spread everything thin on a rimmed baking sheet, and let the oven do the work. You end up with a golden, cheesy top, super crispy edges, and just enough creamy pockets in the middle to still feel like mac and cheese—using only four simple ingredients you probably already have on hand.
Serve this crispy sheet pan mac and cheese hot, straight from the pan, with a simple green salad or steamed broccoli to balance the richness. It also pairs really well with roasted chicken, grilled sausages, or even a bowl of tomato soup if you’re keeping things cozy and low-effort. If you’re feeding a crowd, put the pan in the center of the table and let everyone cut or scoop their own squares—those corner pieces with extra browned cheese go fast, so claim yours early.
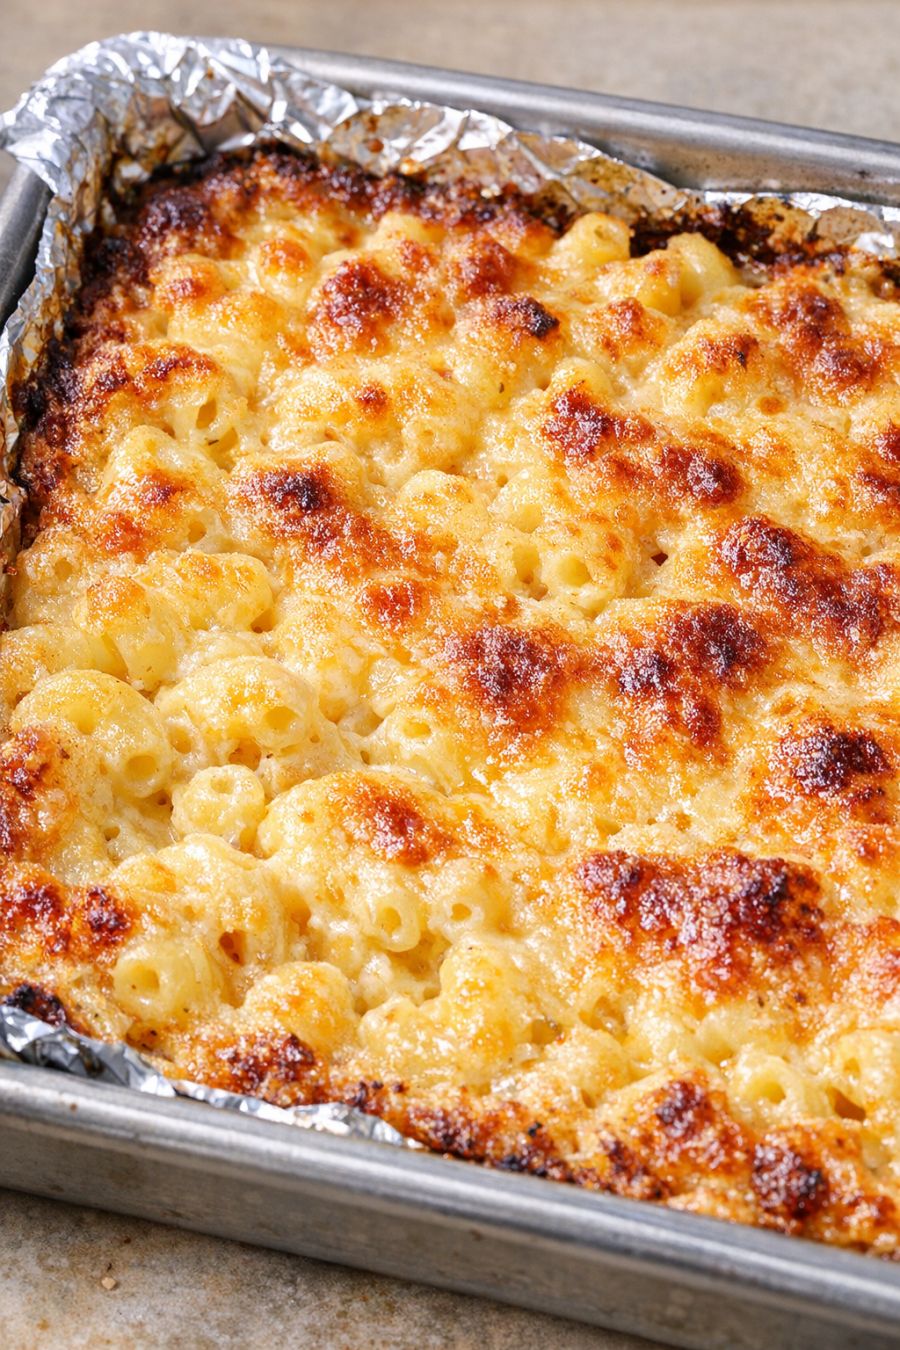
Oven-Baked 4-Ingredient Crispy Sheet Pan Mac and Cheese
Servings: 6
Ingredients
12 oz elbow macaroni (or other short pasta)
4 cups shredded sharp cheddar cheese, divided
4 cups whole milk
1 1/2 tsp kosher salt
Directions
Preheat your oven to 425°F (220°C). Line a rimmed half-sheet pan (about 18x13 inches) with aluminum foil, pressing it into the corners, then lightly grease the foil with a bit of oil or nonstick spray so the cheesy edges release but still crisp up.
Bring a large pot of salted water to a boil. Add the elbow macaroni and cook 2 minutes less than the package directions for al dente (you want it quite firm since it will cook more in the oven). Drain well and let the pasta sit in the colander for a minute or two to steam off excess moisture.
While the pasta drains, pour the whole milk into the now-empty pot and warm it over low heat just until it feels hot to the touch but not boiling, 2–3 minutes, stirring occasionally. Turn off the heat and stir in the kosher salt until dissolved.
Add the drained macaroni back into the warm milk and stir to coat. Let it sit for 2–3 minutes, stirring once or twice, so the pasta absorbs some of the milk. It should look loose and milky, not saucy yet—that’s okay, the oven will thicken everything.
Stir in 3 cups of the shredded sharp cheddar cheese until it’s evenly distributed through the milky pasta. It won’t fully melt and that’s exactly what you want; those bits of cheese will create pockets of gooey and crispy texture as it bakes.
Pour the cheesy pasta mixture onto the prepared foil-lined sheet pan and spread it out into an even layer all the way to the edges and corners. The thinner the layer, the more crispy edges you’ll get, so take a minute to really level it out.
Sprinkle the remaining 1 cup shredded cheddar evenly over the top, making sure to get plenty of cheese all along the edges where it meets the foil. This is the college-roommate trick: those exposed cheesy edges bake up into the crunchiest, golden brown border.
Bake on the middle rack for 22–28 minutes, or until the top is deep golden in spots, the edges are browned and crisp, and you can see some bubbling around the sides. If you like it extra crispy, you can leave it in for an additional 3–5 minutes, watching closely so it doesn’t burn.
Remove the pan from the oven and let the mac and cheese rest for at least 5–10 minutes. This helps it set so you can cut it into squares and also lets the edges firm up even more for maximum crunch.
Use a spatula to loosen along the foil, then cut or scoop into squares, making sure everyone gets some of those caramelized, crispy cheddar edges. Serve warm right from the sheet pan.
Variations & Tips
For a little extra flavor without technically adding more ingredients, you can play with the type of cheddar—use extra-sharp for more bite or a white cheddar for a slightly different look. If you’re not strict about the four-ingredient thing, a teaspoon of garlic powder or dry mustard whisked into the milk adds a subtle savory note, and a pinch of black pepper on top before baking is always welcome. To make it more weeknight-friendly, cook the pasta the night before, toss it with a splash of milk or a drizzle of oil so it doesn’t clump, and keep it in the fridge; the next day, just warm the milk, mix, and bake. For kids who like it extra creamy, reserve about 1/2 cup of the warm milk mixture and drizzle it over the pasta before adding the final cheese layer so the center stays softer while the edges crisp. If you need to scale up for a party, use two sheet pans and rotate them halfway through baking so both get evenly browned. Leftovers reheat best in the oven or toaster oven on a small sheet of foil so the edges crisp back up instead of getting soggy in the microwave.
