Every March, my Irish-American grandmother would pull out one stained index card and declare that this was the only bread we needed to celebrate the month. Her Irish soda bread was as simple as it gets: just four ingredients, no yeast, no fuss. The result is a dense, crusty loaf with a golden top and that traditional cross cut into the surface, perfect for slicing thick and slathering with butter. This version sticks closely to that old-fashioned style—no raisins, no sugar swirl—just a humble, hearty bread you can mix in minutes and bake while you get on with your busy day.
Slice the warm soda bread into thick wedges and serve with plenty of salted butter so it melts into all the nooks. It’s also great alongside a simple bowl of soup or a hearty beef stew, especially on chilly March evenings. For breakfast, toast leftover slices and top them with jam or a drizzle of honey. If you’re planning a St. Patrick’s Day spread, pair this bread with corned beef, cabbage, and roasted potatoes—it holds up beautifully for dunking into juices and sauces.
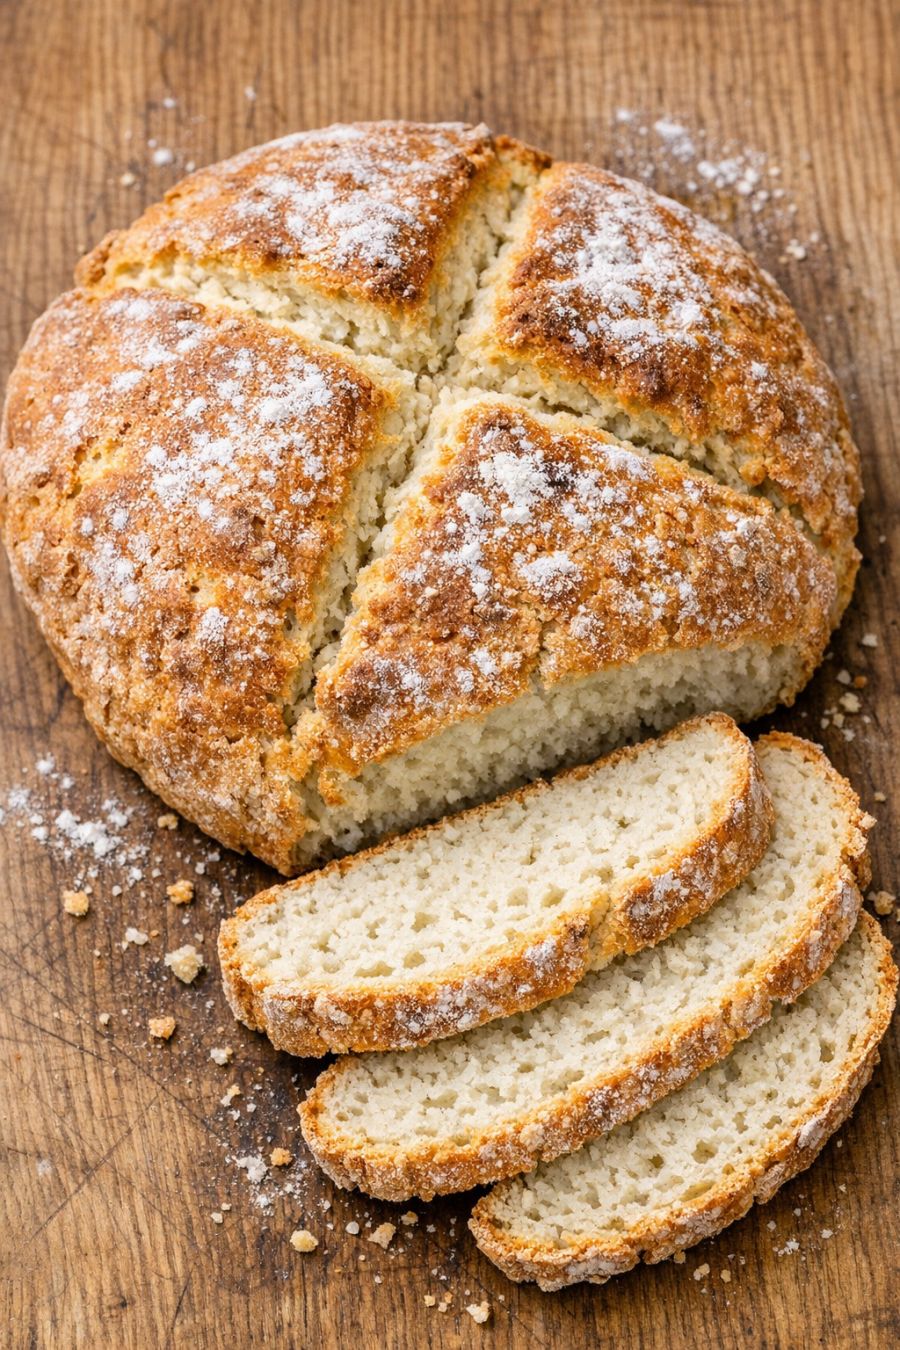
4-Ingredient Irish Soda Bread
Servings: 8
Ingredients
4 cups all-purpose flour, plus extra for dusting
1 teaspoon fine salt
1 teaspoon baking soda
1 3/4 cups buttermilk, cold
Directions
Preheat your oven to 425°F (220°C). Line a baking sheet with parchment paper or lightly flour a cast-iron skillet. This helps keep the bottom from sticking and gives you that nice rustic look.
In a large mixing bowl, whisk together the flour, salt, and baking soda until everything is evenly combined. This quick mix makes sure the baking soda is distributed so the bread rises evenly.
Make a well in the center of the dry ingredients. Pour in about three-quarters of the cold buttermilk to start. Using a wooden spoon or your hand shaped like a claw, gently mix, adding more buttermilk a little at a time just until the dough comes together into a shaggy, slightly sticky ball. It should hold together but not be overly wet.
Turn the dough out onto a lightly floured surface. With floured hands, gently bring it together and knead very lightly—no more than 5–8 turns—just until it forms a rough ball. Overworking the dough will make the bread tough instead of tender and dense in a good way.
Shape the dough into a round loaf about 7–8 inches across and place it on the prepared baking sheet or in the skillet. Dust the top lightly with a bit of extra flour for that classic rustic finish.
Using a sharp knife, cut a deep cross on top of the loaf, going about one-third of the way down into the dough. This helps the bread bake through the center and gives you that traditional look with the golden brown crust opening at the cross.
Bake in the preheated oven for 15 minutes at 425°F (220°C). Then reduce the oven temperature to 400°F (200°C) and continue baking for another 20–25 minutes, or until the loaf is deep golden brown and crusty. The bread should sound hollow when you tap the bottom, and a skewer inserted into the center should come out clean.
Transfer the bread to a wooden cutting board and let it cool for at least 20–30 minutes before slicing. This helps the interior set so it stays dense but not gummy. Slice into thick wedges, admire the dense white interior against the golden crust, and serve warm with a generous slab of butter.
Variations & Tips
If you’re craving a slightly softer texture, you can swap 1 cup of the all-purpose flour for cake flour, keeping the total flour amount the same. For a deeper flavor, use a mix of 3 cups all-purpose flour and 1 cup whole wheat flour, though the loaf will be a bit heavier. If you don’t have buttermilk, make a quick version by stirring 1 3/4 tablespoons of white vinegar or lemon juice into 1 3/4 cups of milk and letting it sit for 5–10 minutes until slightly thickened. For a more pronounced crust, preheat your baking sheet in the oven, then carefully place the shaped dough directly onto the hot surface. You can also bake the loaf in a preheated cast-iron skillet for extra crunch on the bottom. To help with a busy schedule, mix the dry ingredients ahead of time and store them in an airtight container; when you’re ready to bake, just add the buttermilk, shape, and pop it in the oven. Leftovers keep well wrapped in a clean kitchen towel at room temperature for up to 2 days; toast slices to bring back that fresh-baked feel.
