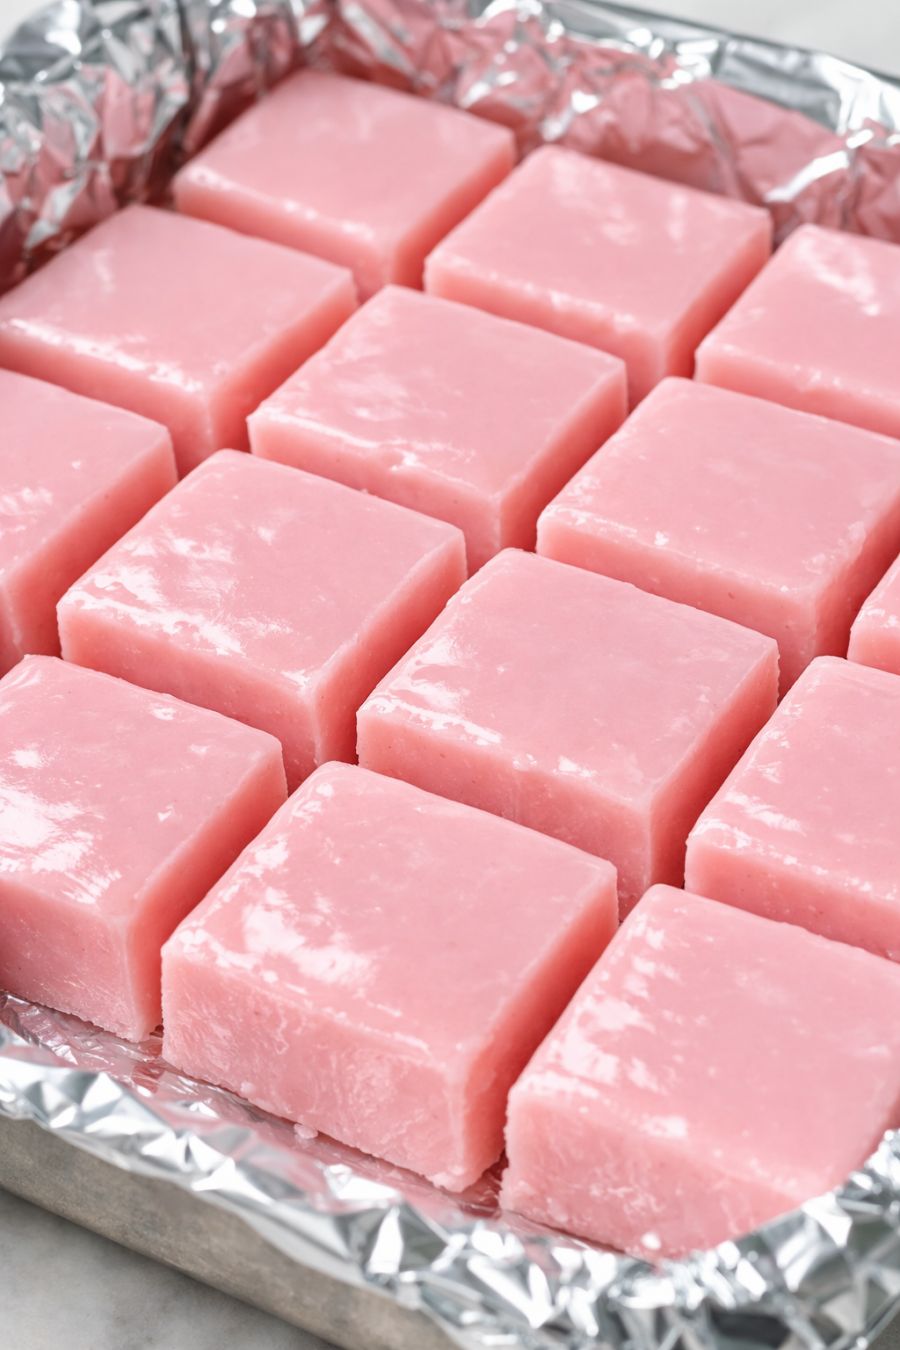
This slow cooker 2-ingredient strawberry fudge is the kind of recipe you keep in your back pocket for every holiday, potluck, and office party. It’s wonderfully creamy, sets up into neat bite-sized squares, and truly involves almost zero effort. While traditional fudge relies on careful temperature control on the stovetop, this version uses the gentle, even heat of a slow cooker plus the stabilizers in prepared frosting and chips to create a smooth, pastel-pink candy with a dense, glossy finish. It’s not a classic old-fashioned fudge, but rather a modern shortcut confection that tastes like strawberries and cream and looks right at home on any festive dessert tray.
Serve these strawberry fudge squares chilled or at cool room temperature, cut into small bite-sized pieces since they’re quite rich. I like to pile them onto a simple white platter so the soft pink color stands out, or tuck them between darker treats like brownies and chocolate truffles for contrast. They pair nicely with coffee, black tea, or a glass of cold milk, and they make a pretty addition to a holiday cookie box. For a more grown-up spread, serve alongside a cheese board with fresh berries and a lightly sweet sparkling wine.
Slow Cooker 2-Ingredient Strawberry Fudge
Servings: 36
Ingredients
2 (16-ounce) containers strawberry frosting
3 cups white chocolate chips
Directions
Line an 8x8-inch baking pan (or similar size) with aluminum foil, pressing it into the corners and up the sides. Smooth out as many wrinkles as you can, then lightly coat the foil with nonstick spray or a thin film of neutral oil. This helps the fudge release cleanly and gives the finished squares a smooth surface.
Set a small slow cooker (2- to 4-quart capacity) to LOW. Add the white chocolate chips and the strawberry frosting directly to the crock. You do not need to stir yet; just make sure both ingredients are in an even layer so they melt at a similar rate.
Cover the slow cooker and let the mixture warm on LOW for 30 to 45 minutes. Avoid lifting the lid during this time so the heat stays consistent and the chocolate melts gently without scorching.
After about 30 minutes, remove the lid and check the mixture. The white chocolate chips should be mostly melted and the frosting loosened. Using a heatproof spatula, stir slowly but thoroughly, scraping the bottom and sides of the crock. Continue stirring until the mixture is completely smooth, thick, and glossy with no visible streaks of frosting or unmelted chips.
If a few small lumps of chocolate remain, replace the lid and continue heating on LOW for another 5 to 10 minutes, then stir again until perfectly smooth. Take your time here; the more evenly you melt and mix, the smoother the finished fudge texture will be.
Once the mixture is fully melted and silky, immediately pour or scrape the warm fudge into the prepared foil-lined pan. Use the spatula to spread it into an even layer, pushing it gently into the corners. Smooth the top as much as possible; this will help you get those neat, glossy, pastel-pink squares.
Let the pan sit at room temperature for about 15 to 20 minutes to cool slightly, then transfer it to the refrigerator. Chill until the fudge is firm all the way through, at least 2 hours, though overnight will give you the cleanest cuts and densest texture.
When the fudge is fully set, lift it out of the pan by grasping the edges of the foil and transferring the whole slab to a cutting board. Peel the foil away from the sides.
Using a large, sharp knife, cut the fudge into small, bite-sized squares—about 1-inch pieces work well for a rich holiday treat. For especially neat edges, wipe the knife clean with a warm, damp cloth between cuts.
Arrange the squares on a serving platter, or layer them in an airtight container between sheets of parchment paper. Store in the refrigerator for the firmest, creamiest texture and a glossy finish that holds up well on the buffet table. The fudge keeps well for about 1 week, making it easy to prepare ahead for gatherings.
Variations & Tips
Because this recipe leans on prepared frosting and chips, you can easily adapt it without adding extra effort. For a slightly more complex flavor while still keeping the base to two ingredients, swap the strawberry frosting for another fruit frosting—cherry or raspberry both create a similar pastel look with different berry notes. If you’d like a stronger strawberry presence, you can fold in 1 to 2 tablespoons of freeze-dried strawberry powder (finely crushed freeze-dried strawberries) after melting; this does technically add a third ingredient, but it intensifies both color and flavor. To create a marbled effect, reserve a few tablespoons of the melted mixture, tint it a shade darker with a drop of red gel coloring, and drizzle it over the pan of fudge, swirling gently with a toothpick before chilling. For presentation, you can top the freshly spread fudge with a light sprinkle of crushed freeze-dried strawberries, tiny heart sprinkles, or sparkling sugar—just remember that any garnish counts as an extra ingredient if you’re strictly sticking to the two-ingredient promise. Finally, if your kitchen is warm, keep the finished fudge refrigerated until just before serving so the texture stays dense and creamy and the surface stays glossy, like the smooth pastel pink squares you see in the photo inspiration.
