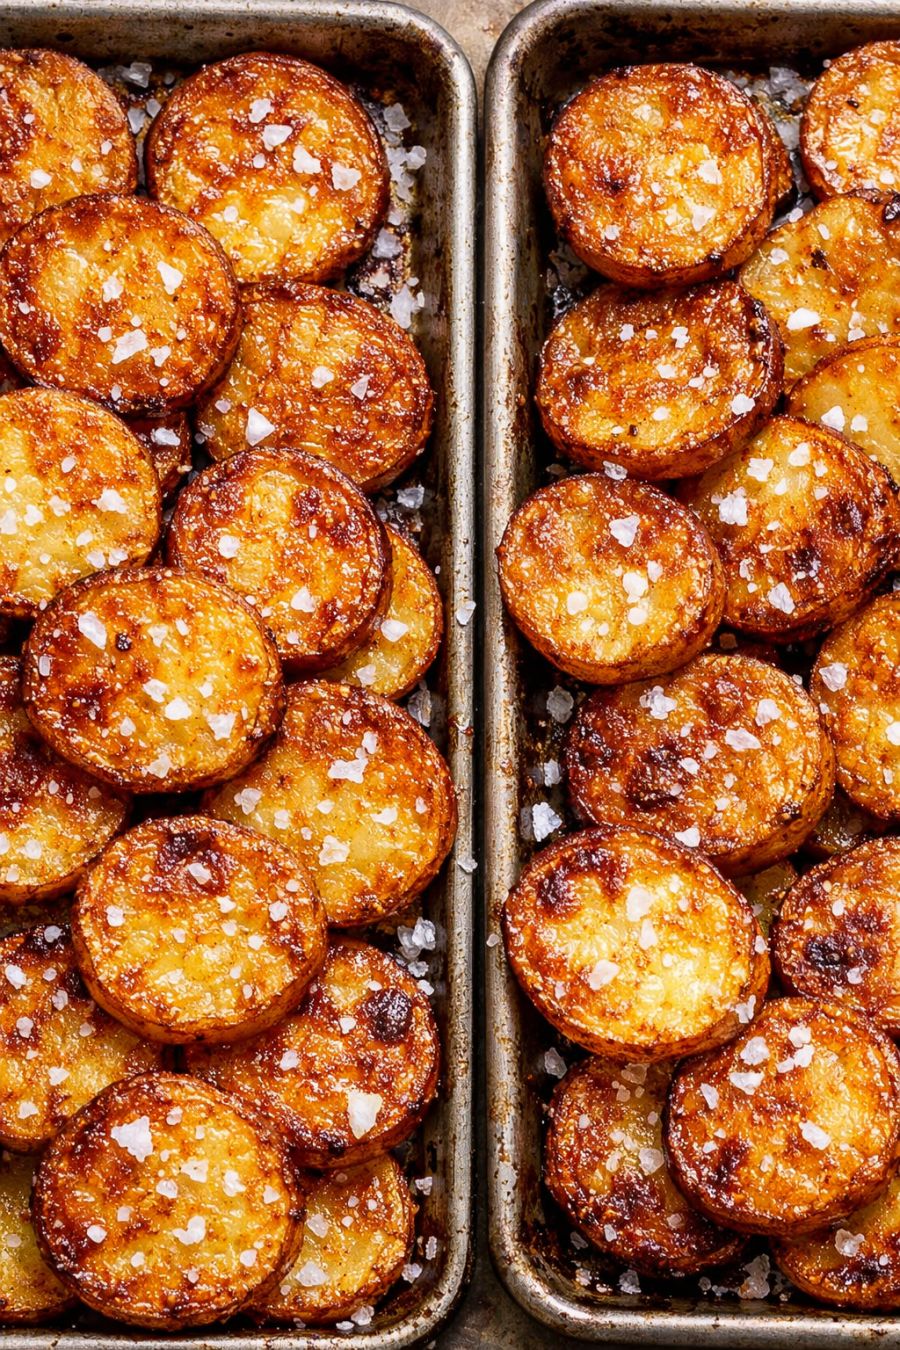
Every March when the snow along the fence line started to melt and the fields turned soft and muddy, my dear mother would pull out her biggest baking sheets and make these oven baked golden potato coins. She called them her “3‑ingredient wonder,” and that’s exactly what they are: thick-sliced potatoes, a good drizzle of oil, and a generous hand with the coarse salt. Nothing fancy, just pantry staples turned into something the whole family would rush to the table for. The potatoes bake up into deep golden-brown medallions with crisp edges and tender, creamy centers—simple, honest Midwestern comfort you can make any night of the week.
Serve these golden potato coins straight from the oven while they’re still sizzling, with a little dish of extra coarse salt on the table. They’re wonderful alongside meatloaf, roast chicken, baked ham, or a skillet of pork chops, and they make a fine base for supper on their own with a green salad and some steamed vegetables. If you like, set out small bowls of ketchup, sour cream, or plain yogurt for dipping, but they’re flavorful enough to eat just as they are, especially when paired with a tall glass of cold milk or a simple homemade lemonade.
Oven-Baked Golden Potato Coins
Servings: 4
Ingredients
2 1/2 pounds russet or Yukon Gold potatoes (about 4–5 medium potatoes), scrubbed
3 tablespoons neutral cooking oil (such as canola or vegetable oil)
1 1/2 to 2 teaspoons coarse sea salt, plus more to taste
Directions
Preheat your oven to 425°F (220°C). Set two large baking sheets on the counter; if they’re dark metal, they’ll help the potatoes brown more deeply, much like my mother’s old well-seasoned pans.
Scrub the potatoes well under cool running water, removing any dirt and blemishes. There’s no need to peel them unless the skins are very rough; the skins help the coins crisp and add a little extra flavor.
Using a sharp knife, slice the potatoes into thick round coins about 1/3 to 1/2 inch thick. Try to keep the slices as even as you can so they cook at the same pace.
Pat the potato slices dry on a clean kitchen towel to remove excess moisture. This step helps them roast to a deep golden color instead of steaming.
Place the potato coins in a large mixing bowl. Drizzle the oil over them and toss with your hands until every slice is lightly coated, adding a touch more oil if any look dry.
Lay the potato coins out on the two baking sheets in a single layer, leaving a little space between each slice so the hot air can circulate. Avoid overlapping or crowding, or they won’t crisp properly.
Sprinkle the tops of the potatoes evenly with the coarse sea salt. Don’t be shy here; this is where the simple flavor really shines. You can always add a pinch more after baking if needed.
Place the baking sheets in the preheated oven, using the upper and middle racks. Bake for 15 minutes, then carefully rotate the pans front to back and switch their positions on the racks for even browning.
After the first 15 minutes, remove one pan at a time and flip each potato coin with a thin spatula or fork so the second side can brown. Return the pans to the oven and continue baking for another 15 to 20 minutes, or until both sides are a deep golden brown with crisp edges and the centers are tender when pierced with the tip of a knife.
When the potato coins are done, remove the pans from the oven and immediately sprinkle a little more coarse sea salt over the hot slices if you like. Let them sit on the pans for 3 to 5 minutes to firm up slightly, then transfer to a serving platter or bring the sheets right to the table, just as my mother did. Serve hot and enjoy while the edges are still crackling crisp.
Variations & Tips
For a slightly different character while still honoring the simple spirit of the dish, you can swap in other starchy potatoes you have on hand—Yukon Golds give a buttery flavor, while russets turn especially crisp at the edges. If you’d like a bit more richness without adding another distinct flavor ingredient, you can brush the coins lightly with melted butter in place of some of the oil during the last 5 minutes of baking, which deepens the golden color and gives a more old-fashioned, farmhouse taste. To help the coins brown even more, preheat the empty baking sheets in the oven for 5 minutes before adding the potatoes; just take care when laying the slices on the hot pans. For extra-crisp coins, cut them closer to 1/3 inch thick and bake a few minutes longer, watching closely near the end so they don’t burn. Leftovers reheat nicely on a dry skillet over medium heat or in a hot oven until the edges crisp back up. If you’re cooking for a crowd, you can double the recipe and bake in batches, keeping the finished coins warm in a low oven (around 200°F/95°C) until everyone is seated and ready to clear the table, just like my family did every March.
