This little stovetop sweet is the kind of no-fuss, big-smile recipe I wish I’d had when my kids were running in and out of the kitchen all day. It starts just the way the headline promises: you dump raw mini marshmallows straight into a saucepan, add three other simple pantry ingredients, and in a few minutes you’ve got a chewy, buttery treat that tastes like something Grandma might have made for church potlucks—only easier. It reminds me of the way Midwestern farm kitchens always seemed to have a pan of something sweet cooling on the counter, ready for whoever happened to stop by.
These stovetop sweets are lovely just cut into small squares and piled on a plate with a pot of coffee or a pitcher of cold milk. They fit right in on a dessert table alongside brownies and bar cookies, or tucked into a tin for road trips and ball games. For a little extra charm, you can dust them lightly with powdered sugar and serve with fresh berries, or crumble a piece over vanilla ice cream for a quick sundae-style treat.
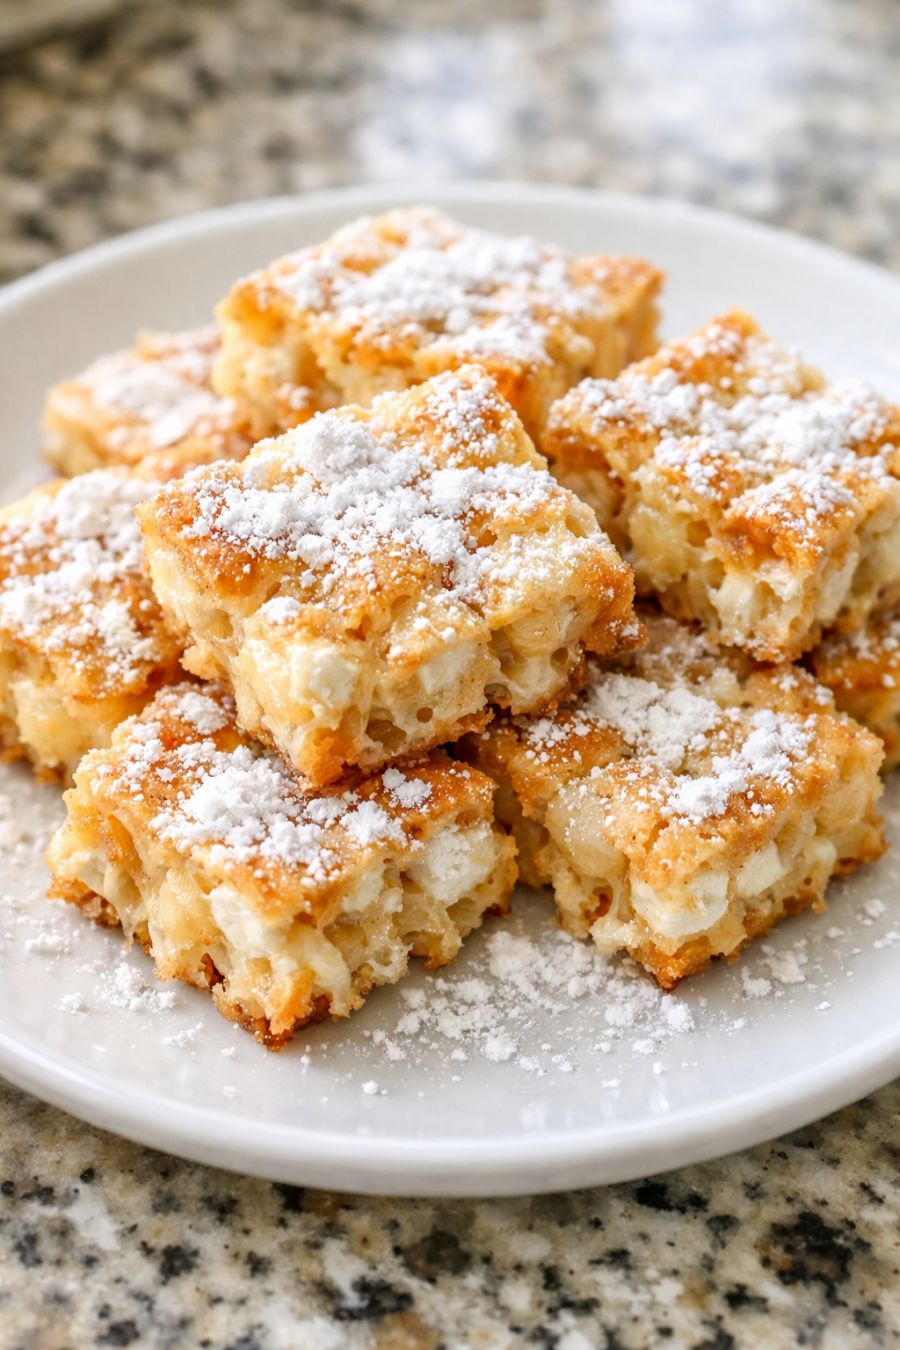
4-Ingredient Stovetop Marshmallow Squares
Servings: 12
Ingredients
4 cups raw mini marshmallows
4 tablespoons unsalted butter
1/2 cup granulated sugar
1 teaspoon vanilla extract
Directions
Set a medium, heavy-bottomed saucepan on the stove. Add the raw mini marshmallows, the butter, and the granulated sugar all at once—just dump them right into the pan together.
Turn the heat to low. Using a heat-safe spatula or wooden spoon, stir slowly and steadily as the butter melts and the marshmallows begin to soften. Keep the mixture moving so it doesn’t scorch on the bottom.
Continue cooking on low heat, stirring constantly, until the marshmallows are completely melted and the mixture is smooth and glossy, about 5–7 minutes. The sugar should be dissolved and there should be no visible lumps of marshmallow.
Remove the saucepan from the heat and immediately stir in the vanilla extract until it is fully blended into the marshmallow mixture.
Lightly butter or spray an 8x8-inch baking dish. While the mixture is still warm and pourable, scrape it into the prepared dish, smoothing the top with your spatula. Work fairly quickly, as it will begin to set as it cools.
Let the pan sit at room temperature until the sweets are firm enough to cut, about 30–45 minutes. For quicker setting, you can place the pan in the refrigerator for 20–30 minutes.
Once set, loosen the edges with a thin knife, turn the slab out onto a cutting board if you like, and cut into small squares or rectangles. Store any leftovers in an airtight container at room temperature for up to 3 days.
Variations & Tips
For a more nostalgic, church-basement feel, stir in 1/2 cup of chopped salted peanuts or walnuts right after you add the vanilla, then press the mixture into the pan. If your family likes a hint of chocolate, drizzle 1/2 cup of melted chocolate chips over the cooled slab before cutting, or sprinkle 2 tablespoons of mini chocolate chips on top while the surface is still tacky. To make a butterscotch version, swap the granulated sugar for 1/2 cup packed light brown sugar and cook just a minute longer, stirring well, until it all melts into a caramel-colored sauce before you add the vanilla. For a firmer, fudge-like bite, chill the pan a bit longer before cutting and keep the squares stored in the refrigerator. You can also cut the cooled slab into tiny cubes and fold them into softened vanilla ice cream, then refreeze for a homemade marshmallow ripple treat. If you’re cooking on an older gas or electric stove that runs hot, keep the heat as low as possible and lift the pan off the burner for a few seconds at a time while stirring to prevent scorching—low and slow is the Midwestern way with sugar.
