This southern 3-ingredient depression era chocolate cake is the kind of recipe that shows up when times are tough and somehow sticks around for the celebrations. The story in my family is that my great-grandma started making it when money was tight and eggs and butter were luxuries. It uses just three pantry staples, comes together in one bowl, and still bakes up into a rich, dark, moist chocolate cake with a simple glossy glaze. It’s the one I can throw together after work when my kids suddenly remember it’s someone’s birthday at school tomorrow, and it never fails us.
Serve this cake slightly warm or at room temperature with a cold glass of milk or hot coffee. The thin chocolate glaze is rich enough that you don’t really need frosting, but a dollop of whipped cream or a scoop of vanilla ice cream makes it feel extra special for birthdays. Fresh berries on the side are a nice contrast to the dark chocolate flavor. Because it’s sturdy and not fussy, it travels well for potlucks, office parties, or school events—just keep it on the plate you plan to serve it from and cover loosely with foil.
Southern 3-Ingredient Depression Era Chocolate Cake
Servings: 8
Ingredients
2 cups self-rising flour
1 3/4 cups chocolate milk, plus 2–3 tablespoons more for glaze, divided
1 cup granulated sugar, plus 1/2 cup more for glaze, divided
Directions
Preheat your oven to 350°F (175°C). Lightly grease an 8-inch square or 9-inch round cake pan with oil or nonstick spray. If you have parchment paper, line the bottom for easier removal, but it’s not required.
In a medium mixing bowl, whisk together 2 cups self-rising flour and 1 cup granulated sugar until there are no streaks of flour or sugar. This helps the cake bake evenly and prevents dry spots.
Pour 1 3/4 cups chocolate milk into the dry mixture. Whisk or stir with a spoon just until the batter is mostly smooth and no big lumps of flour remain. Don’t overmix—stop as soon as everything is combined. The batter will be fairly thick but pourable.
Pour the batter into the prepared pan and gently smooth the top with a spatula or the back of a spoon so it’s level. Tap the pan lightly on the counter a couple of times to release any large air bubbles.
Bake on the center rack for 25–32 minutes, or until the top looks set, the edges pull slightly away from the pan, and a toothpick inserted in the center comes out with a few moist crumbs but no wet batter. Ovens vary, so start checking around 25 minutes.
Once baked, remove the cake from the oven and place the pan on a wire rack or cool stovetop. Let the cake cool in the pan for about 10–15 minutes while you make the simple chocolate glaze.
To make the glaze, add 1/2 cup granulated sugar to a small saucepan. Pour in 2 tablespoons chocolate milk and stir. Place over low heat and cook, stirring constantly, until the sugar is fully dissolved and the mixture looks glossy and slightly thickened, 2–4 minutes. If it seems too thick to pour, stir in up to 1 more tablespoon chocolate milk, a little at a time, until it has a smooth, pourable consistency.
With the warm cake still in the pan, use a toothpick or fork to poke small holes all over the surface. This helps the glaze soak in and keeps the cake extra moist.
Slowly pour the warm chocolate glaze evenly over the warm cake, letting it sink into the holes and spread to the edges. Tilt the pan gently if needed to help the glaze coat the top in a thin, shiny layer.
Let the cake cool completely in the pan so the crumb sets and the glaze firms up into a thin, glossy topping. This can take about 30–45 minutes at room temperature.
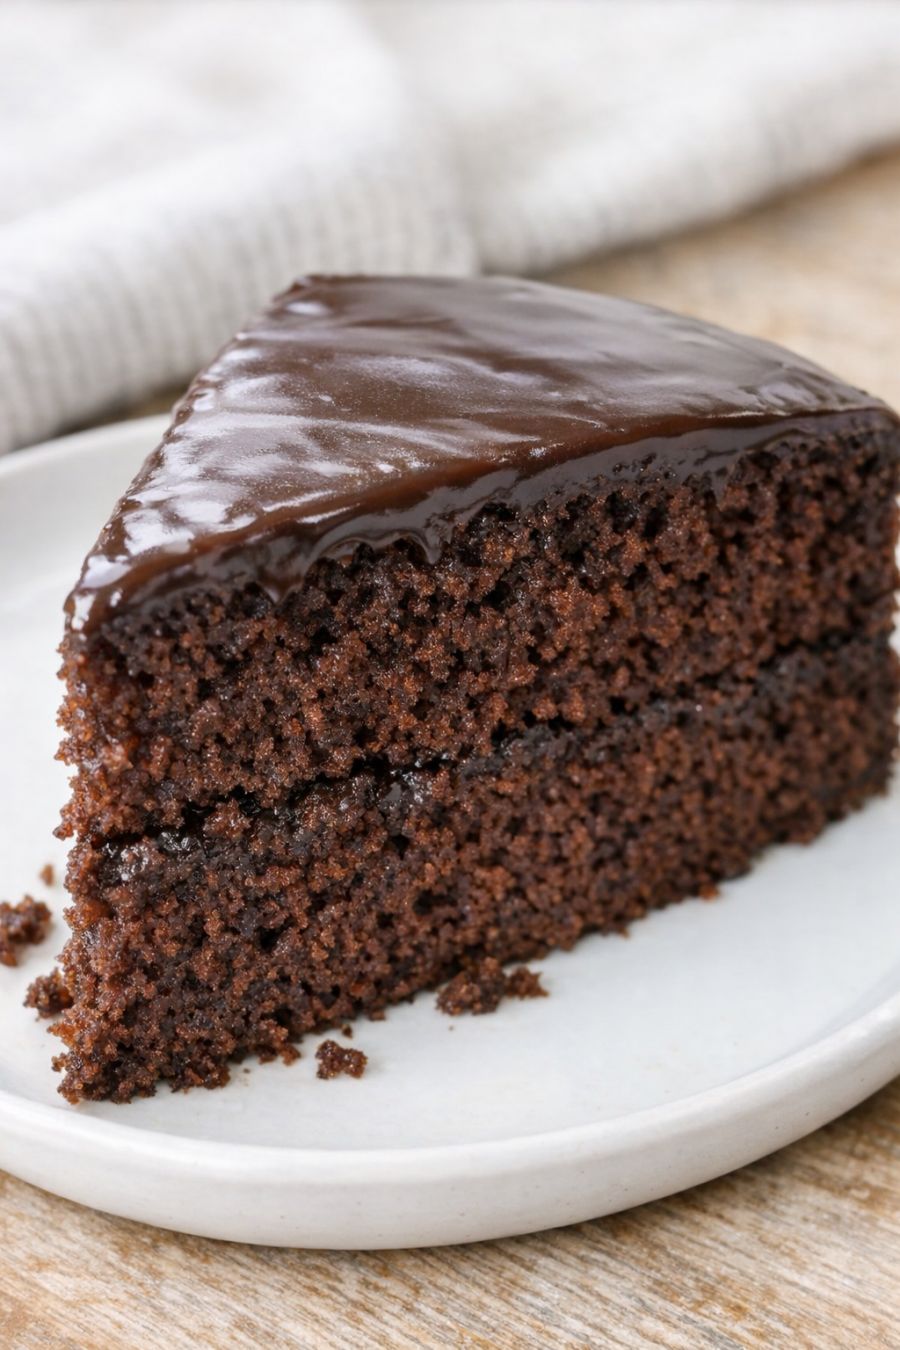
Once cooled, slice the cake into squares or wedges and transfer pieces to a white ceramic plate for serving. You’ll see a rich, dark chocolate crumb with a moist, tender texture and a thin glossy chocolate glaze on top—exactly how my grandma used to serve it during both hard times and happy birthdays.
Variations & Tips
If you don’t have self-rising flour, you can make a quick substitute using pantry staples: for every 1 cup of all-purpose flour, whisk in 1 1/2 teaspoons baking powder and 1/4 teaspoon salt. For this recipe, measure 2 cups all-purpose flour, then add 3 teaspoons (1 tablespoon) baking powder and 1/2 teaspoon salt. Whisk very well before adding the sugar. If you only have plain milk, you can mimic chocolate milk by stirring 3–4 tablespoons unsweetened cocoa powder and 2–3 tablespoons sugar into the 1 3/4 cups milk, whisking until smooth before adding it to the dry ingredients; do the same for the small amount used in the glaze. For a deeper chocolate flavor, you can reduce the sugar in the cake batter slightly (to about 3/4 cup) and add 2–3 tablespoons unsweetened cocoa powder to the dry ingredients if you have it on hand—this technically adds an extra ingredient, but it keeps the spirit of the recipe. You can also sprinkle a little flaky salt or a spoonful of finely chopped nuts over the glaze before it sets for a bit of texture. To make cupcakes, divide the batter among greased or lined muffin cups and bake 15–20 minutes, then spoon a bit of glaze on top of each while warm. Food safety tips: Because this cake uses milk, avoid leaving the finished cake at room temperature for more than about 2 days; after that, cover tightly and refrigerate. Always use fresh, pasteurized milk and keep it chilled until you’re ready to bake. Let the glaze simmer gently just until the sugar is dissolved—no need for a hard boil, which can scorch the milk. Allow the cake to cool fully before covering to prevent condensation, which can lead to a gummy texture or quicker spoilage.
