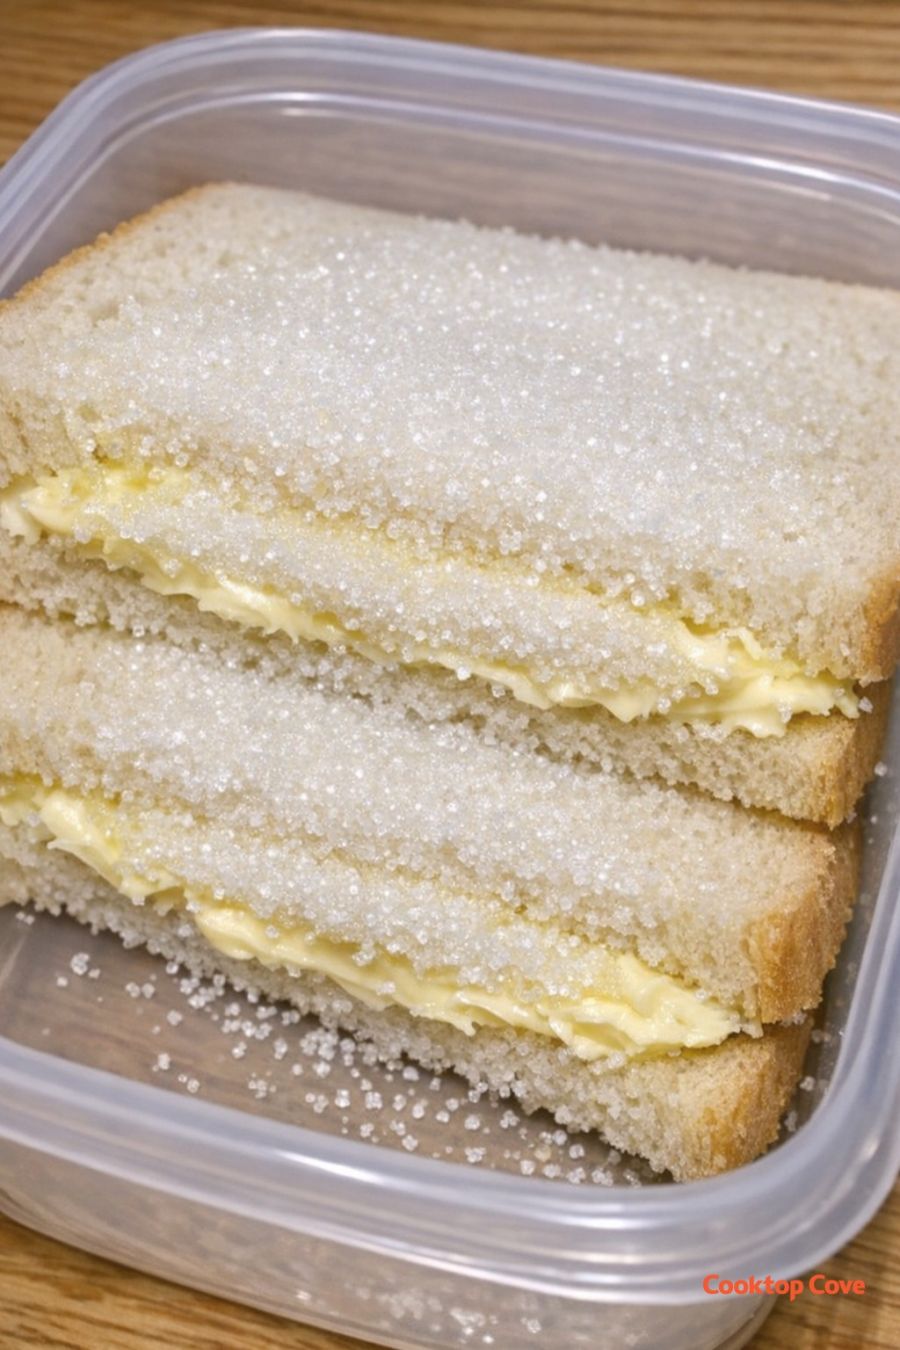
This 3-ingredient sugar sandwich is the kind of make-do sweet my great grandmother turned to when pantry shelves were bare. It’s as simple as it gets: soft white bread, a generous swipe of butter, and a thick, crunchy layer of granulated sugar that hits every sugar craving. There’s nothing fancy here—just a nostalgic, budget-friendly treat you can pull together in a minute or two for an after-school snack or a late-night bite.
Serve these sugar sandwiches fresh so the bread stays soft and the sugar keeps its crunchy bite. I like to cut them into little squares or triangles and tuck them into a small plastic container for the kids to share at the table or on the porch. A cold glass of milk, hot coffee, or tea balances the sweetness nicely. For a simple dessert plate, pair with a handful of fresh fruit like apple slices or berries to add a bit of brightness alongside the rich, buttery sugar crunch.
3-Ingredient Sugar Sandwich
Servings: 2
Ingredients
2 slices soft white sandwich bread
2 tablespoons salted butter, softened
2–3 tablespoons white granulated sugar
Directions
Lay the slices of white sandwich bread on a clean cutting board or plate. If the bread has been in the fridge, let it sit for a few minutes so it softens back up—this helps it stay tender under the crunchy sugar.
Spread the softened salted butter evenly over one side of each slice of bread. Go all the way to the edges so every bite has that creamy, buttery base to catch the sugar.
Sprinkle the white granulated sugar generously over the buttered side of each slice. You want a thick, even layer so you can see the individual sugar crystals sitting on top of the creamy yellow butter. Gently tilt the bread over the sugar bowl or a plate to shake off any loose excess, keeping that crunchy layer in place.
Place one slice on top of the other, sugar sides facing inward, to form a sandwich. Press very lightly so the sugar sticks to the butter but doesn’t crush the bread.
If you’d like it to look like an old-fashioned lunchbox treat, cut the sandwich into halves or quarters. Nestle the pieces into a small plastic container with a tight lid so the bread stays soft and the sugar layer doesn’t get brushed off.
Serve right away for the best contrast of soft bread, creamy butter, and crunchy sugar. If packing for later the same day, keep the container at cool room temperature and enjoy within a few hours.
Variations & Tips
For picky eaters, you can adjust the sugar to taste—use a thinner sprinkle for kids who don’t like things too sweet, or a thicker layer for a real old-fashioned treat. If you only have unsalted butter, add a tiny pinch of table salt over the butter before the sugar to keep that classic salty-sweet balance. You can also lightly toast the bread first for a firmer, more toasty crunch, but let it cool before buttering so the sugar doesn’t melt. For smaller hands, cut the sandwich into bite-size squares or strips and pack them snugly into a plastic container so they don’t slide around. Food safety tips: because this is a no-cook snack, start with clean hands, utensils, and surfaces. Use fresh, soft bread and clean, covered sugar so nothing is contaminated. If your kitchen is very warm, don’t leave the buttered sandwiches sitting out for more than a couple of hours; make them close to when you plan to eat them. This recipe is a treat and very high in sugar, so serve it occasionally and pair with some fruit or a protein-rich snack when you can.
