My dad was a meat-and-potatoes Midwestern farmer, but when Father’s Day rolled around, he always expected a fresh pan of these little garlic cheese bombs. They’re my low-carb nod to the cheesy pull-apart breads I grew up with—same golden, bubbly, can’t-stop-eating flavor, just stripped down to three simple ingredients. You stir, scoop, and bake until the edges go a little greasy and crisp, the tops turn deep golden, and the whole kitchen smells like garlic and Sunday supper. They’re perfect when you want something cozy and special without fussing with dough or a long ingredient list.
Serve these warm right out of the baking dish while the cheese is still stretchy and gooey. They’re lovely alongside a simple green salad, grilled chicken, or a pan of roasted vegetables. I often put them on the table with a bowl of marinara or warm pizza sauce for dipping, or tuck them next to a steak and some sautéed green beans when I’m keeping things low carb. They also make an easy little snack plate with sliced salami, pickles, and a few cherry tomatoes.
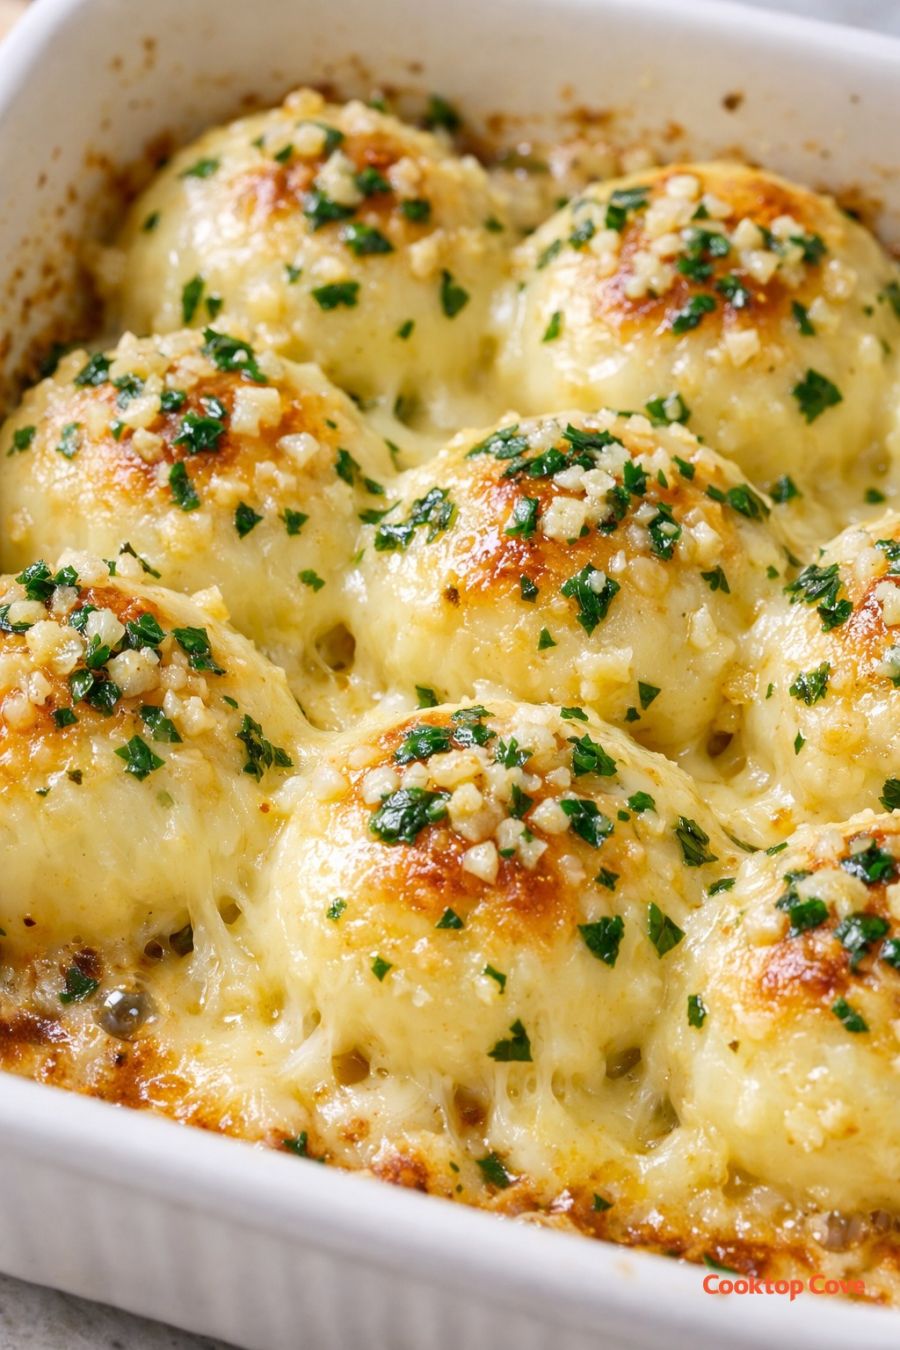
Low Carb Garlic Cheese Bombs
Servings: 8
Ingredients
2 cups shredded low-moisture mozzarella cheese
1 cup full-fat ricotta cheese
2 tablespoons garlic-herb seasoning blend (with dried minced garlic and green herbs), plus more to taste
Directions
Preheat your oven to 400°F (200°C). Lightly grease a small ceramic casserole dish so the cheese bombs release easily and the edges can get nice and crisp.
In a medium mixing bowl, combine the shredded mozzarella, ricotta, and garlic-herb seasoning blend. Use a sturdy spoon to stir until everything is well mixed and the seasoning looks evenly speckled throughout the cheese.
Let the mixture sit for 5 minutes at room temperature. This helps the ricotta firm up a bit and makes the mixture easier to scoop and shape.
Using a small cookie scoop or a tablespoon, scoop heaping spoonfuls of the cheese mixture and drop them into the prepared casserole dish. Leave a little space between each mound so they have room to puff and spread as they bake.
Sprinkle a light extra pinch of the garlic-herb seasoning blend over the tops for a more pronounced garlicky, herby crust. Gently pat any loose bits so they stick to the cheese.
Place the casserole dish on the middle rack of the oven and bake for 14–18 minutes, or until the cheese bombs are puffed, bubbling vigorously around the edges, and deep golden brown on top. The edges should look slightly greasy and crisp, with some browned spots.
If you like a deeper brown top, switch the oven to broil for 1–2 minutes at the end of baking, watching closely so they don’t burn.
Remove the dish from the oven and let the garlic cheese bombs sit for 3–5 minutes. They’ll be very hot and molten inside at first; a short rest lets them set just enough to scoop without falling apart.
Serve warm, scooping the cheese bombs straight from the casserole dish with a spoon or small spatula. Enjoy while the centers are still gooey and stretchy.
Variations & Tips
If you grew up on church suppers like I did, you know every cook puts her own spin on a recipe. You can swap the mozzarella for another low-moisture, good-melting cheese such as Monterey Jack or a mild cheddar, understanding that sharper cheeses may brown faster and release a bit more oil. For a stronger garlic flavor, add an extra teaspoon of your garlic-herb blend, or choose one that includes dried minced garlic and parsley for that classic green flecked look. If your seasoning blend is low on salt, you may want to add a pinch of salt to the cheese mixture. For a little heat, use a garlic-and-red-pepper seasoning blend or stir in a pinch of crushed red pepper. You can also portion the mixture into a mini muffin pan instead of a casserole dish for more defined individual bites; just watch the baking time, as smaller portions may brown more quickly. Food safety tips: Use fresh, in-date cheeses and keep them refrigerated until you’re ready to mix. Avoid tasting the raw mixture if you’ve had it sitting out for more than 2 hours at room temperature. Bake until the cheese is fully melted and bubbling; this ensures everything is heated through. Refrigerate leftovers within 2 hours of baking and reheat in a hot oven until steaming before serving again. Because these are rich and cheesy, they’re best eaten within 2–3 days for the nicest texture.
