
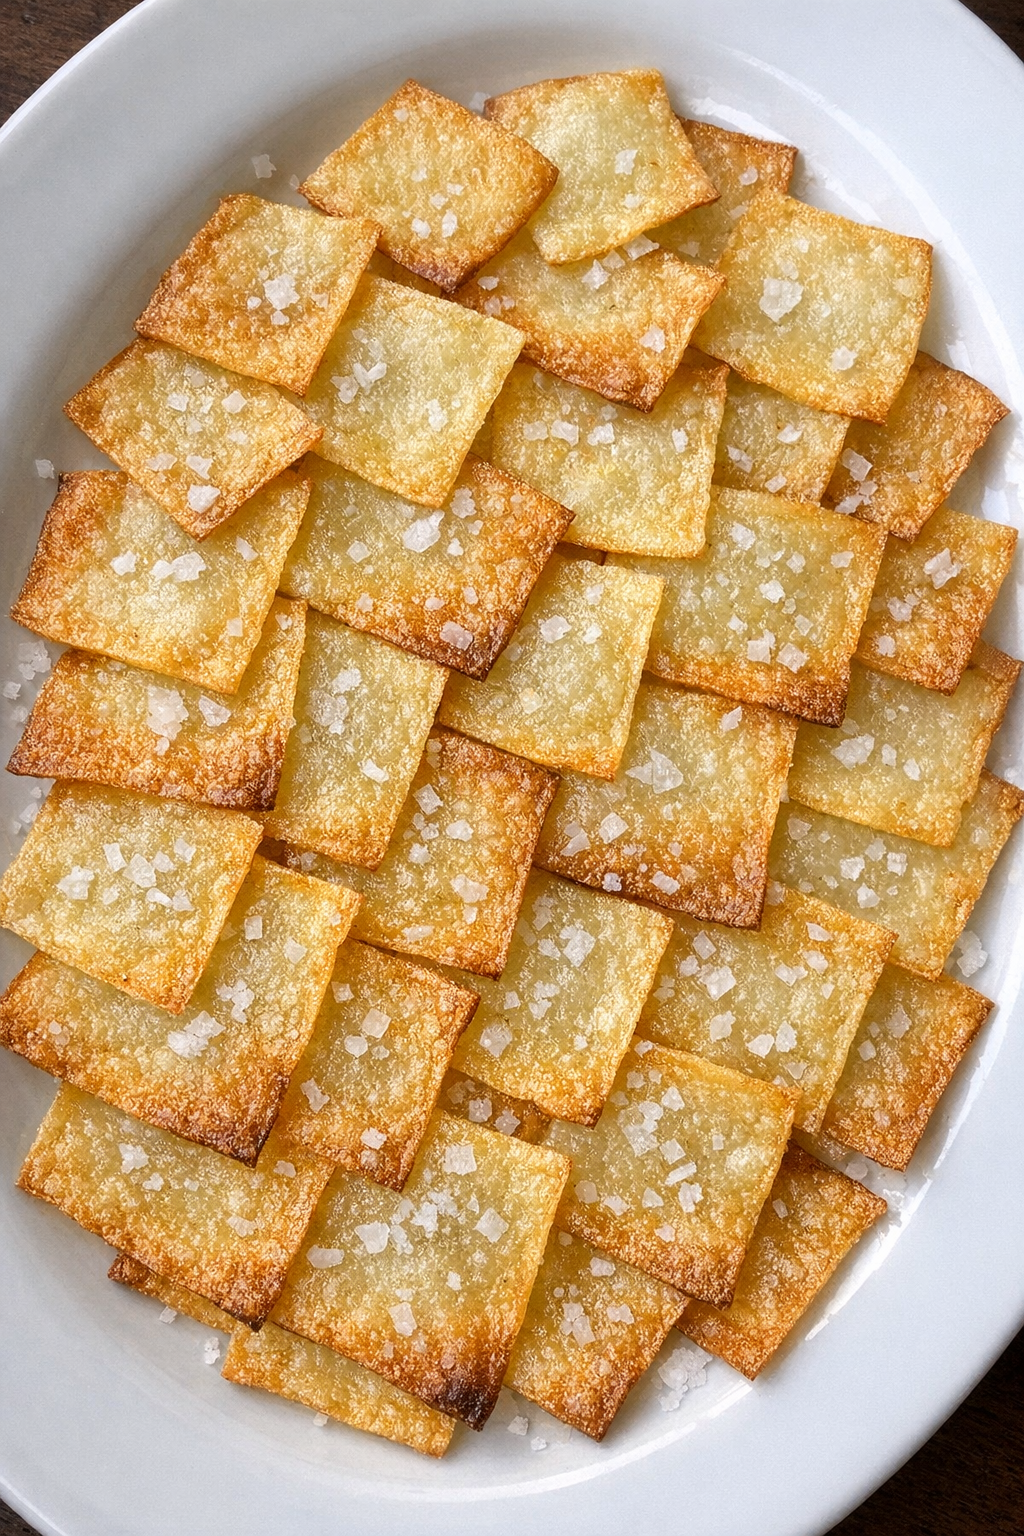
These oven baked 3-ingredient crispy potato tile chips are the kind of snack that disappears almost as fast as you can set them out. They feel a little special because of their delicate, paper-thin look, but they are made from simple pantry basics and a hot oven. This is exactly the kind of recipe I love keeping in my back pocket for cookouts, game nights, or those evenings when I want something salty and crunchy without making a store run.
Serve these chips with burgers, hot dogs, sandwiches, or grilled chicken for an easy cookout side, or pile them into a bowl with dips like ranch, sour cream and onion, or French onion dip. They also make a fun little appetizer next to a cheese board, and I like setting them out with sparkling lemonade or iced tea when friends stop by because they look impressive without adding much work.
Oven Baked 3-Ingredients Crispy Potato Tile Chips
Servings: 4
Ingredients
2 large russet potatoes
Directions
1. Preheat the oven to 400°F and line two large baking sheets with parchment paper. Lightly brush or rub a thin layer of olive oil over the parchment so the potato slices crisp instead of sticking.
2. Scrub the potatoes well and slice them as thinly as possible, about 1/16 inch thick, using a mandoline or a very sharp knife. Try to keep the slices even so they bake at the same rate.
3. Pat the potato slices very dry with clean kitchen towels or paper towels. This step helps them crisp up better in the oven, especially when you're working quickly on a busy day.
4. Place the slices in a bowl, drizzle with the olive oil, and gently toss until each slice has a light coating. Arrange them in a single layer on the prepared baking sheets without overlapping, then sprinkle with flaky sea salt.
5. Bake for 12 to 18 minutes, rotating the pans halfway through, until the chips are golden brown and crisp around the edges. Remove any slices that finish early so they do not overbrown, since thinner pieces can cook faster.
6. Let the chips cool on the baking sheets for a few minutes to finish crisping, then transfer to a serving platter and add a little extra flaky sea salt if desired.
Variations & Tips
Use Yukon gold potatoes: If you want a slightly richer flavor and a deeper golden color, swap the russets for Yukon golds. They crisp beautifully and have a buttery taste that works really well for snacking.
Season after baking: For the cleanest flavor, add extra seasonings right after the chips come out of the oven. A light dusting of black pepper, garlic powder, or smoked paprika can make these feel different every time without changing the easy base recipe.
Watch the edges closely: Thin slices go from pale to perfect to too dark pretty fast, especially near the edges of the pan. I like to start checking early and pull off the crispiest ones first so the whole batch stays evenly golden.
Best slicing tip: A mandoline gives you the most even, paper-thin slices, which is the real secret to that tile-chip look. If using a knife, go slowly and keep the slices as uniform as you can for the best texture.
Make-ahead tip: These are best the day they are made, but you can slice the potatoes a little ahead of time and keep them in cold water. Just be sure to dry them extremely well before adding oil, or they will steam instead of crisp.
